△トップに戻る
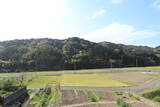
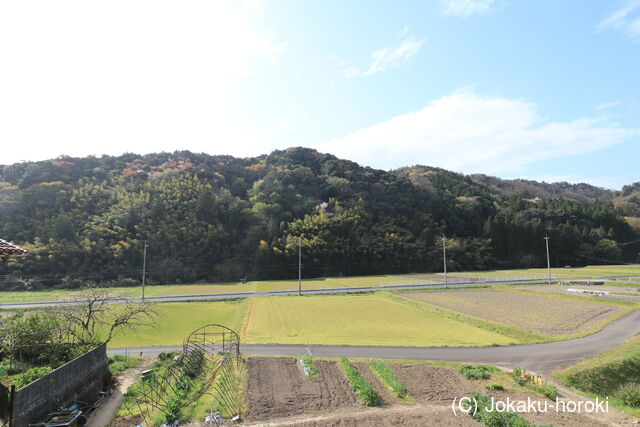
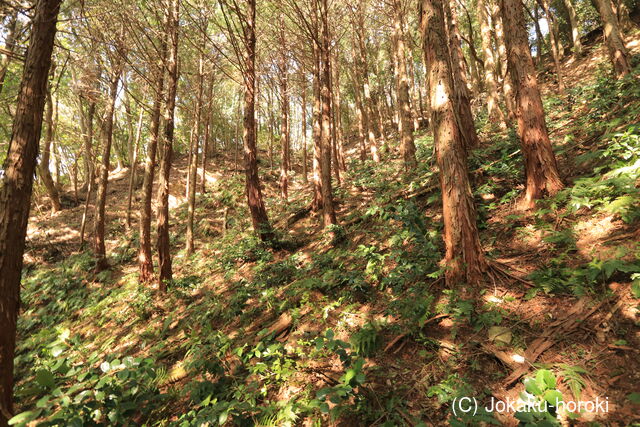
1:北から

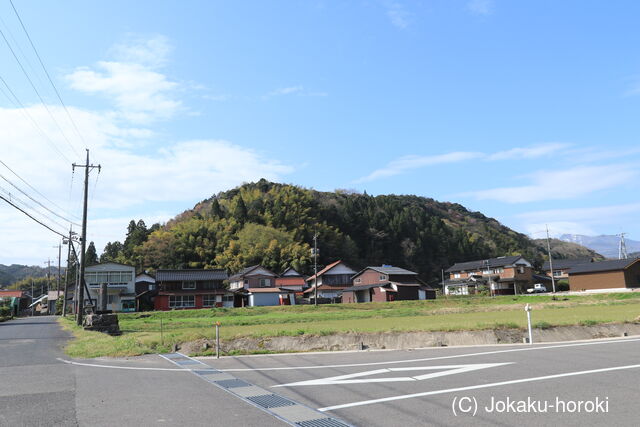
2:北東下から
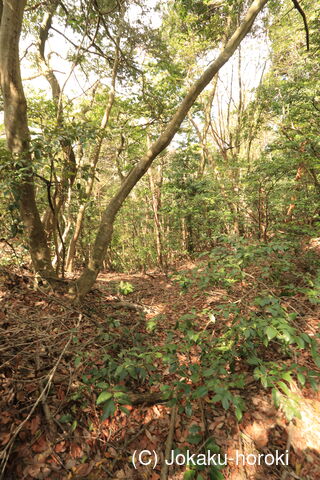
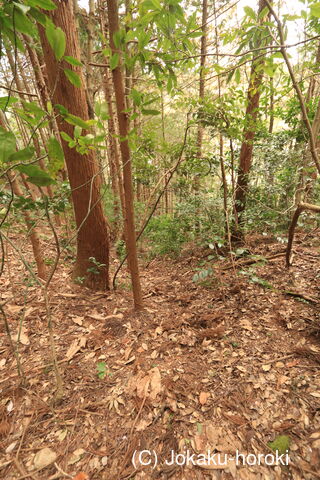
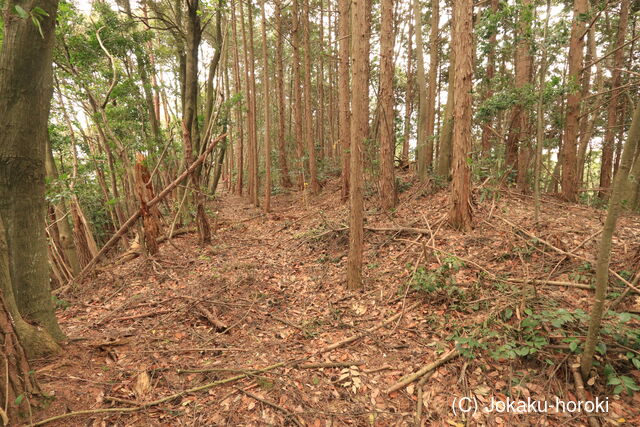
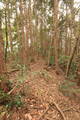
3:
4:

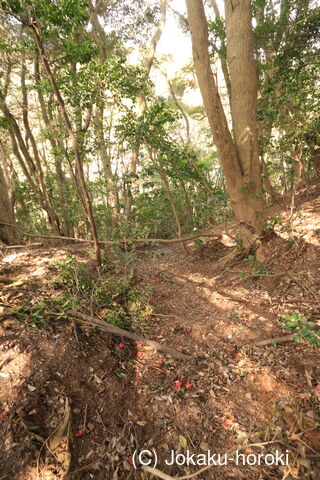
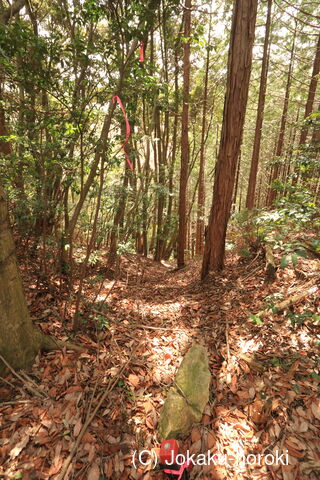
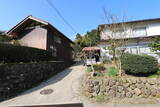
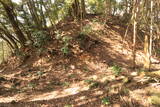
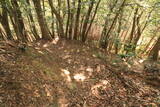
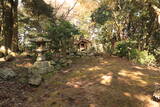
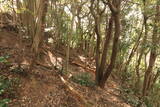
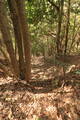
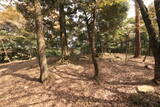
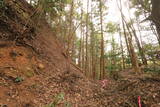
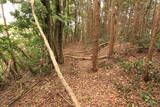
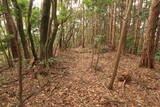
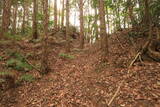
5:登り口(鳥居は倒れている)

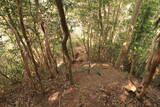
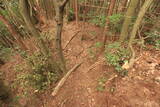
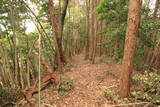
6:雪で倒壊した鳥居
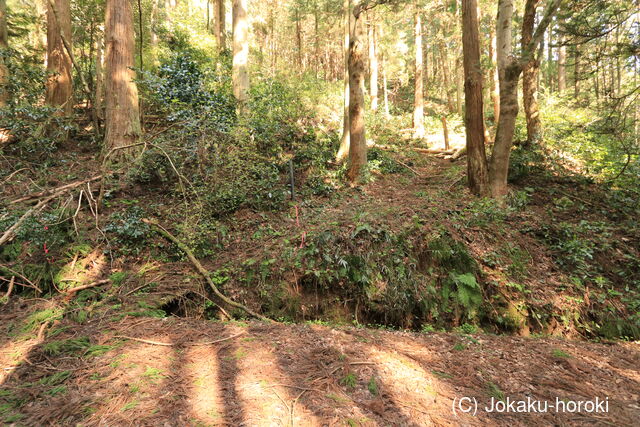
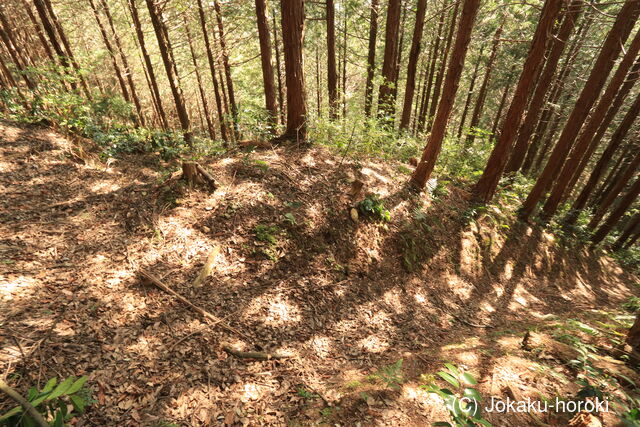
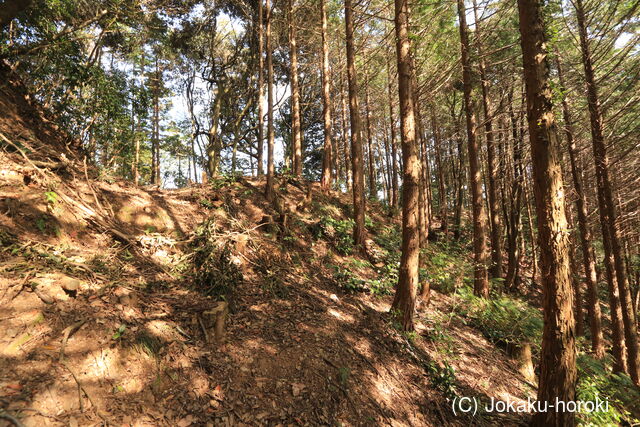
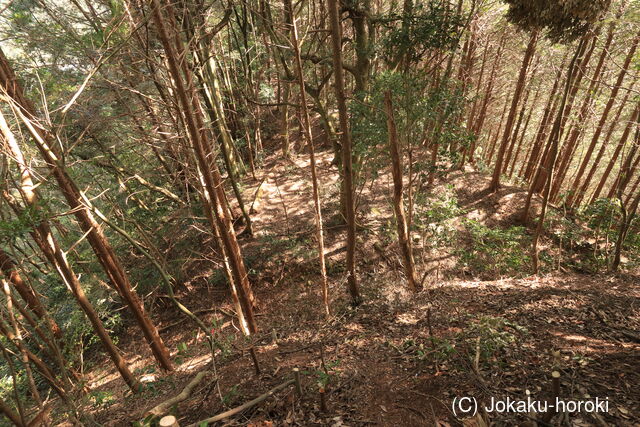
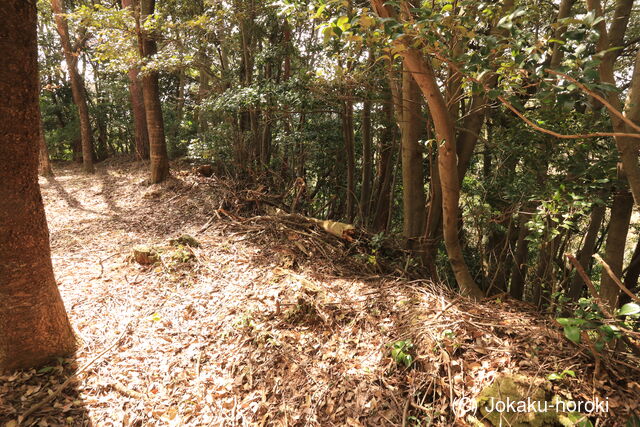
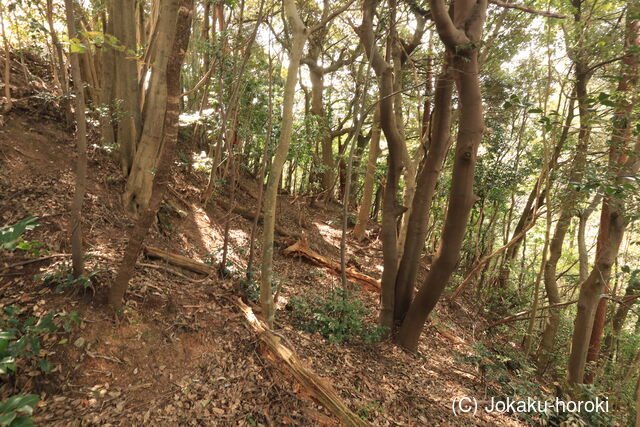
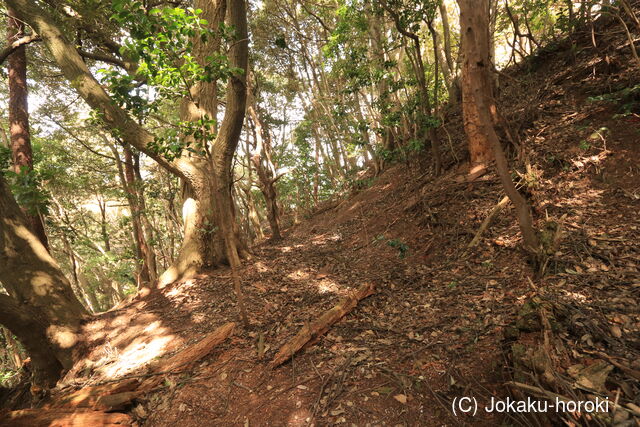
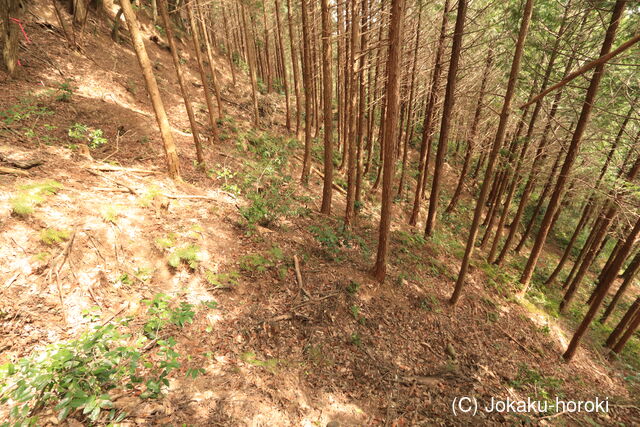
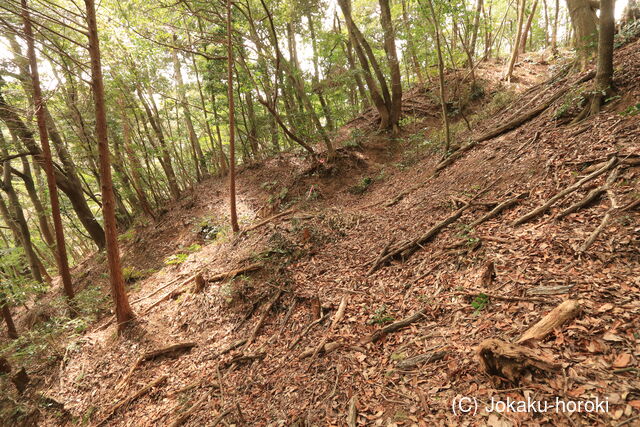
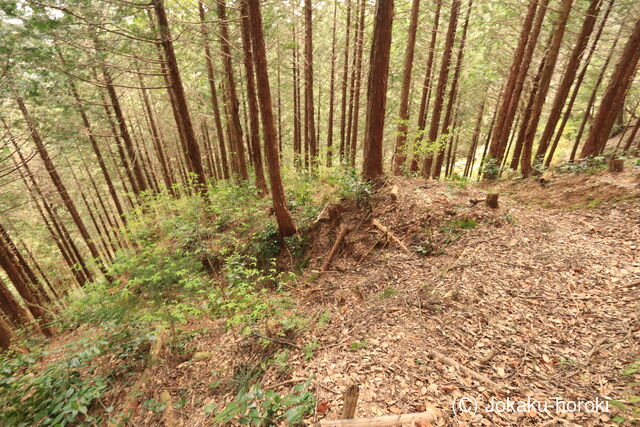
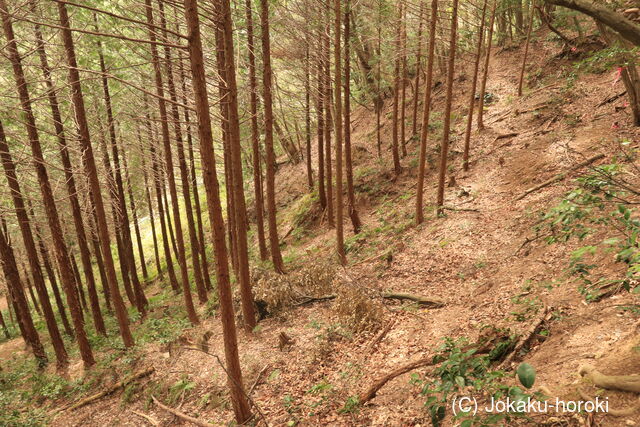
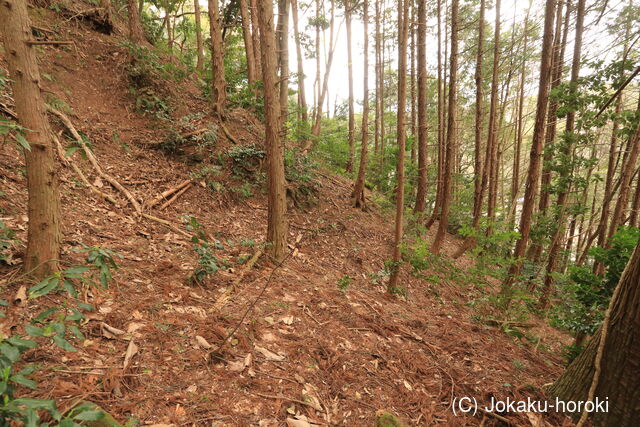
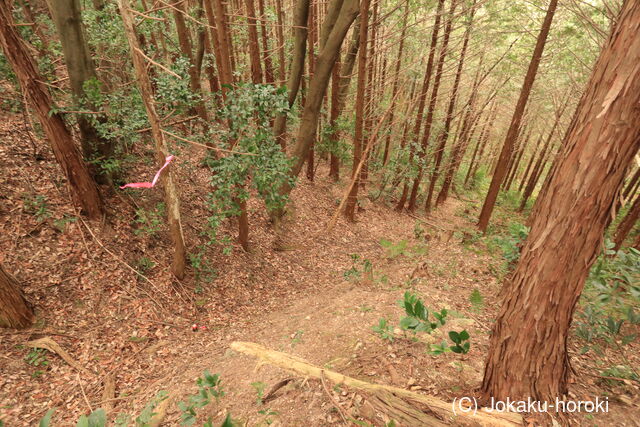
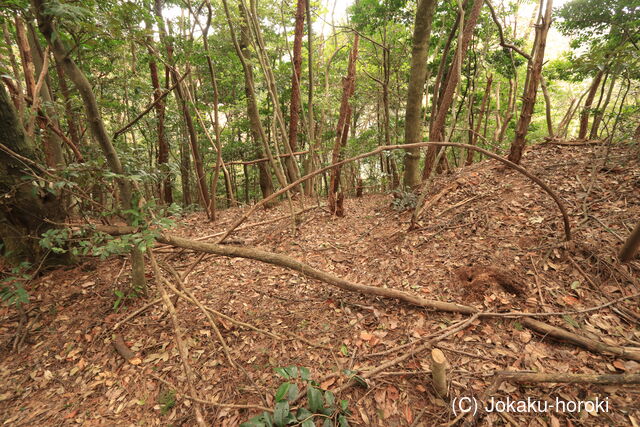
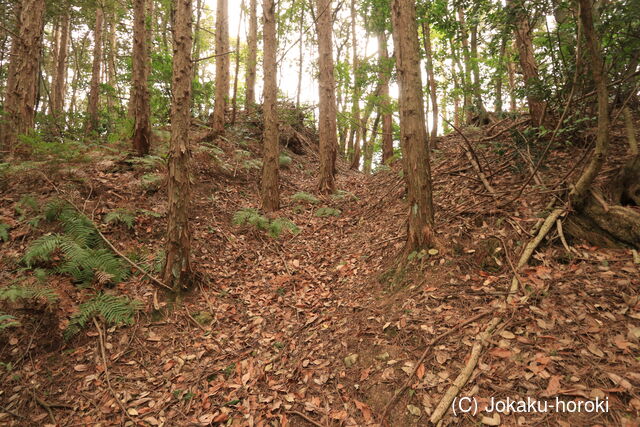
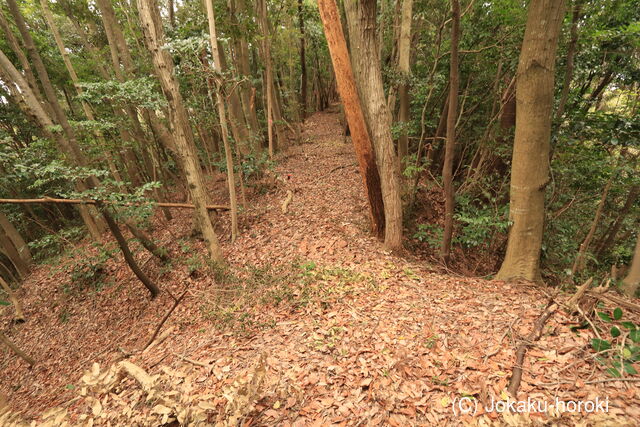
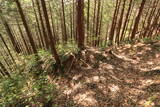
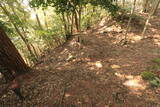
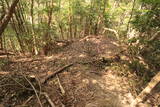
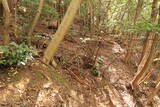
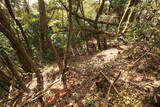
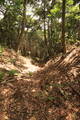
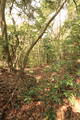
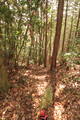
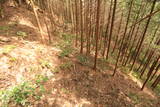
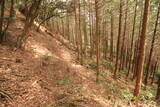
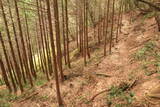
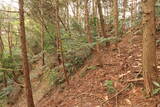
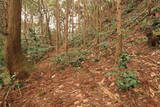
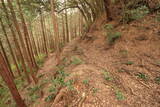
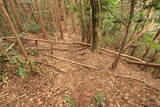
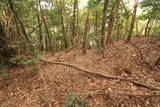
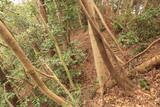
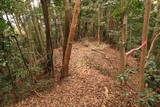
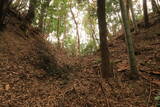
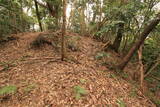
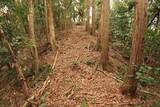
7:参道の左側に畝状竪堀群の下部が

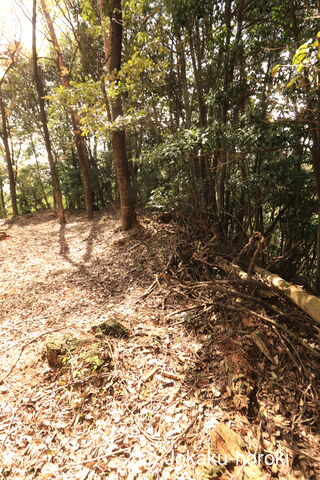
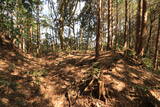
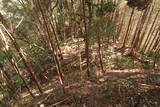
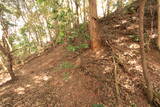
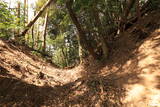
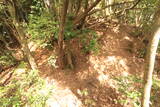
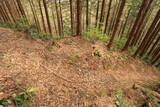
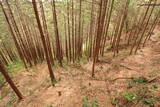
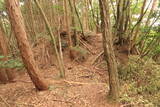
8:畝状竪堀群2
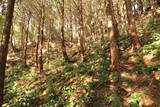
9:畝状竪堀群2
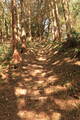
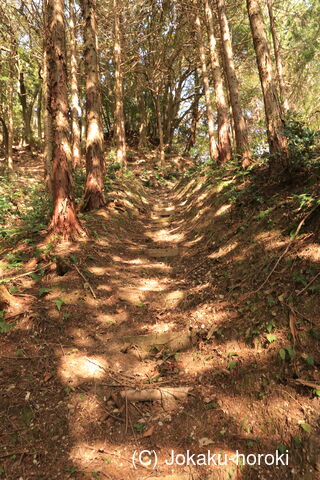
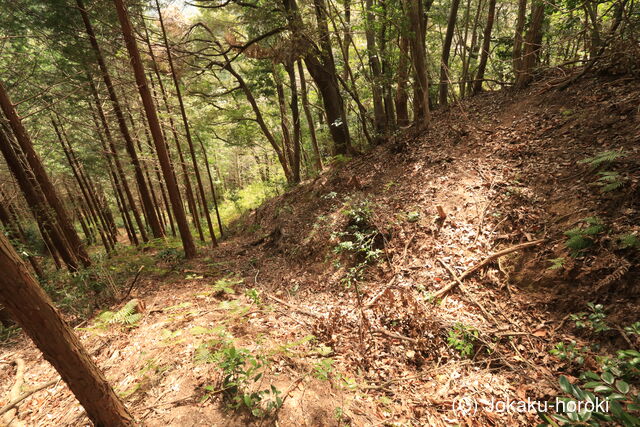
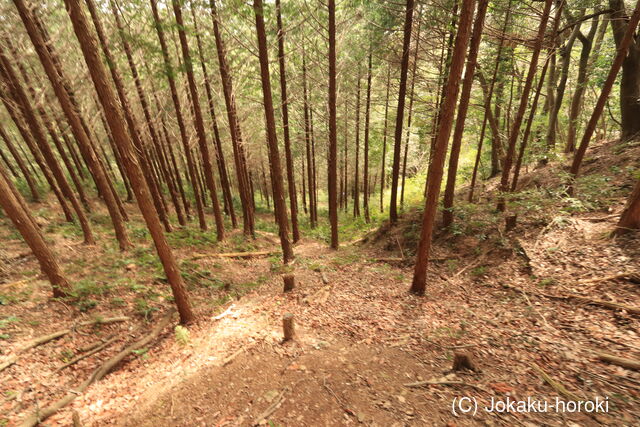
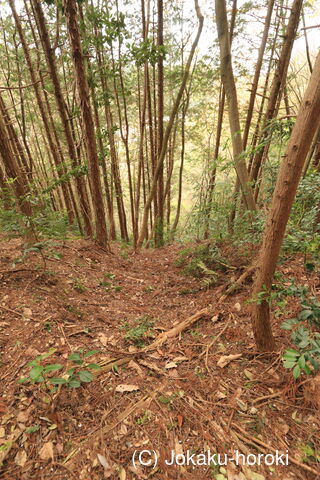
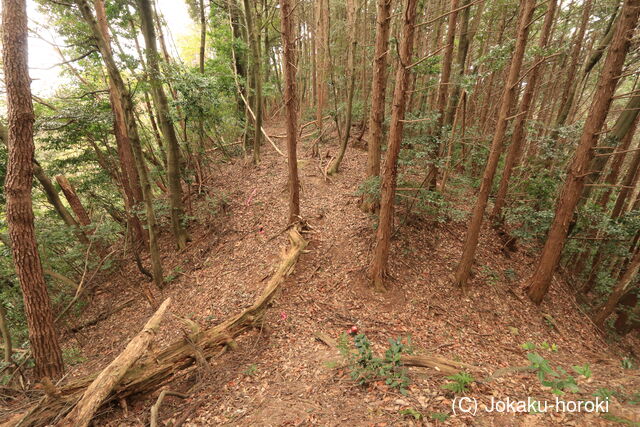
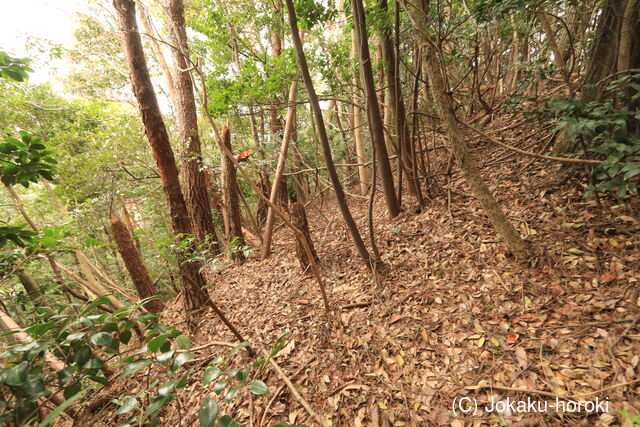
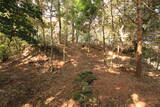
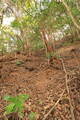
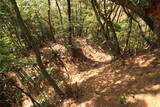
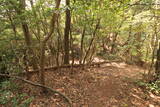
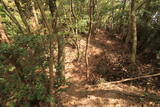
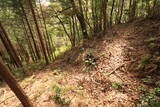
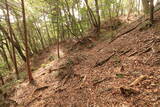
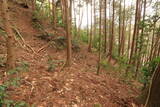
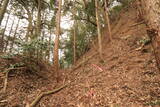
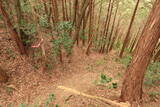
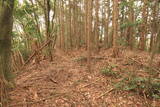
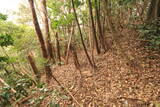
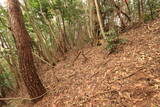
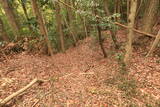
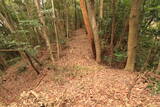
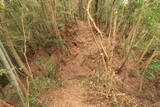
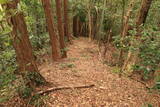
10:参道も竪堀を登る
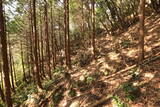
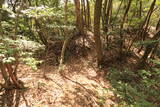
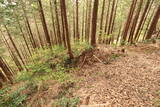
11:畝状竪堀群2
12:畝状竪堀群2
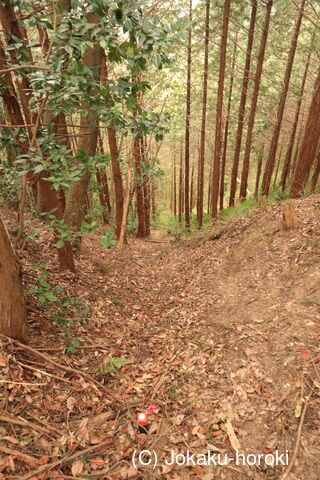
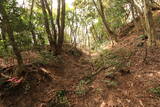
13:畝状竪堀群2

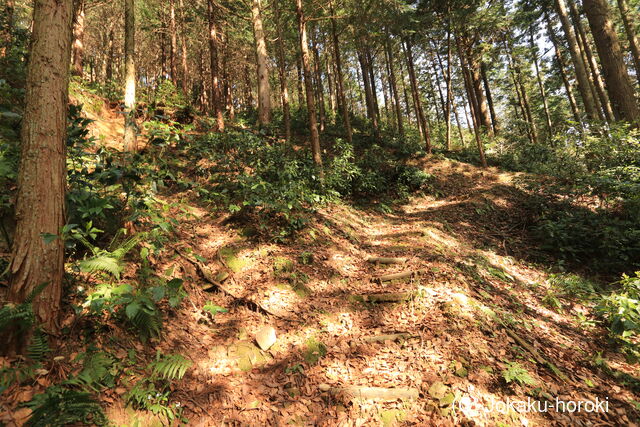
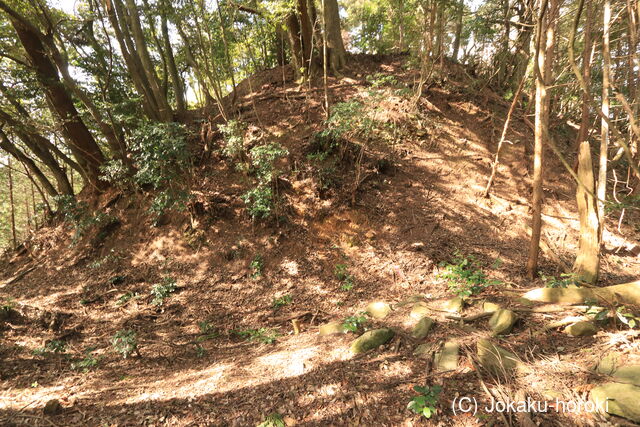
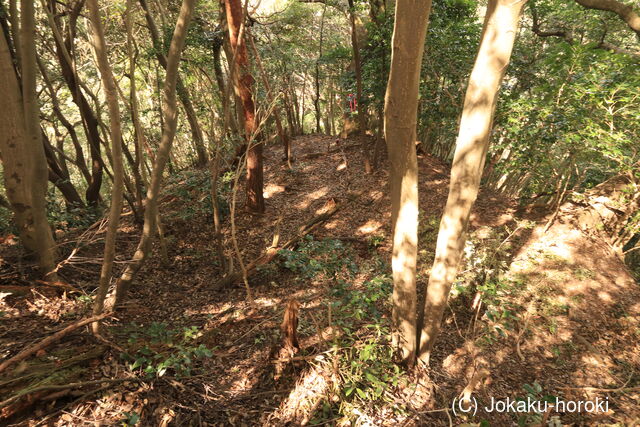
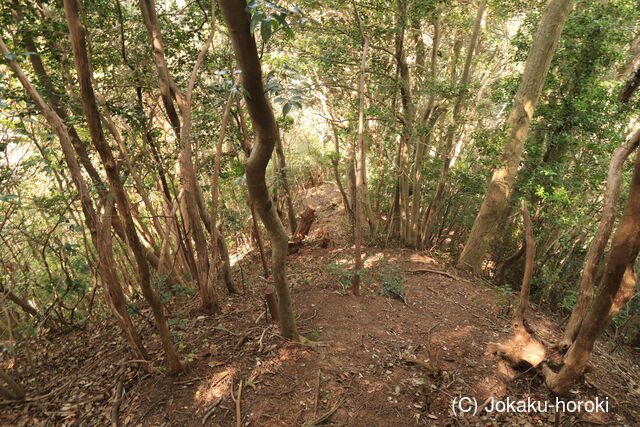
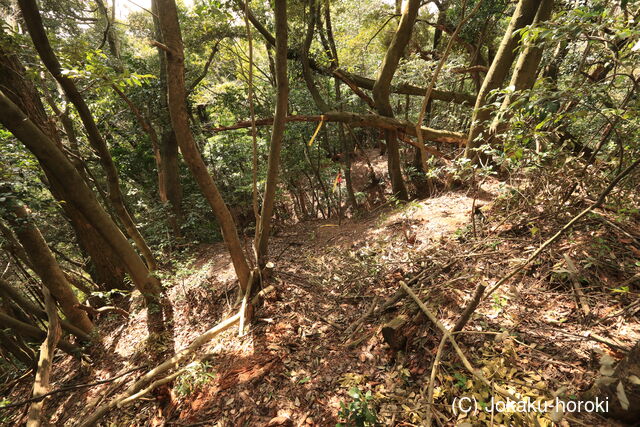
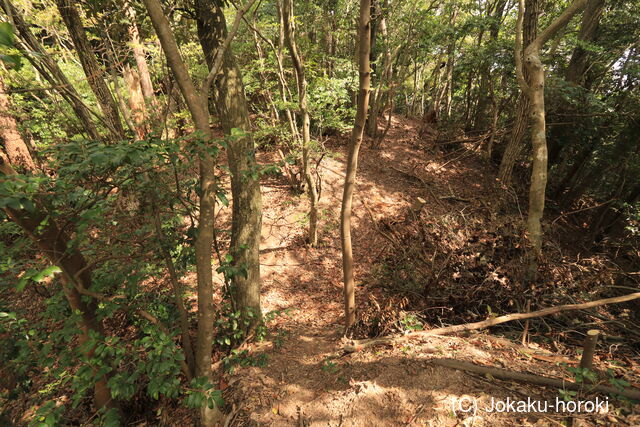
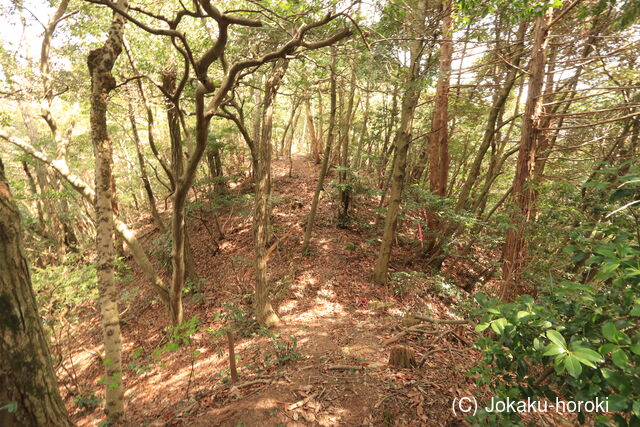
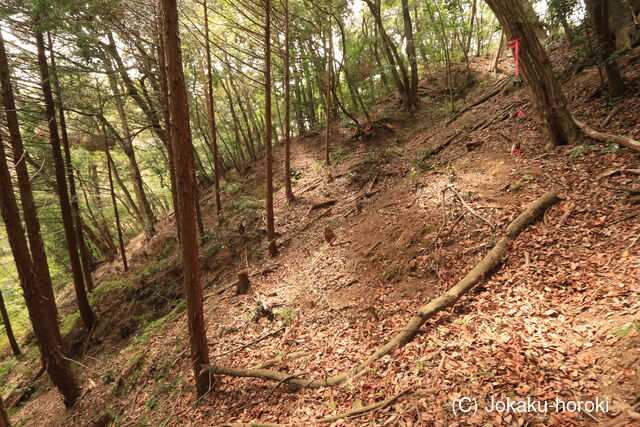
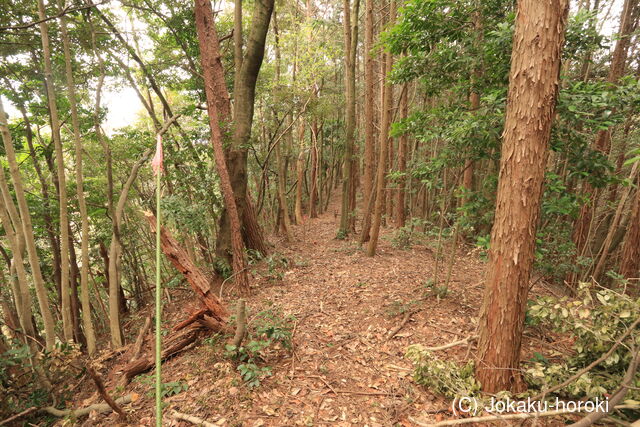
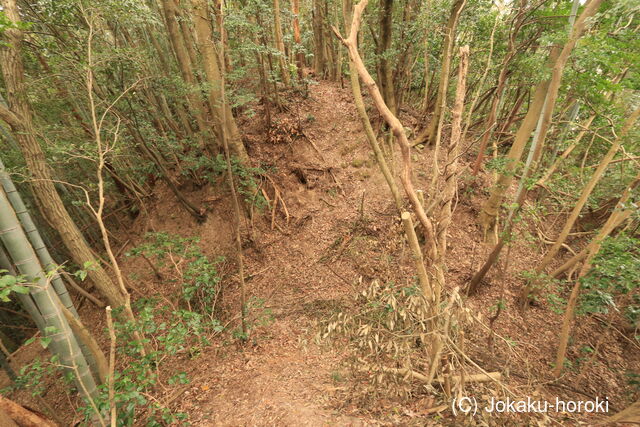
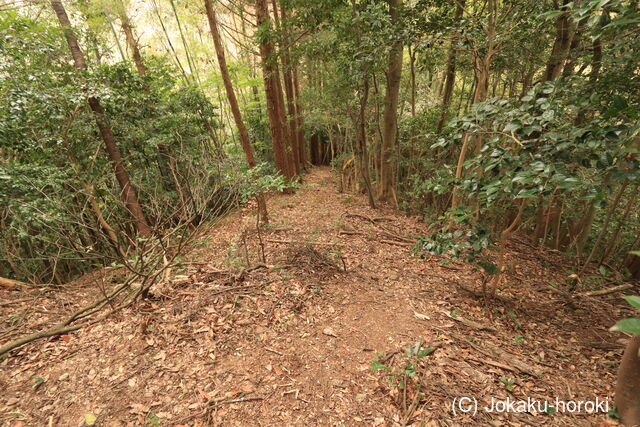
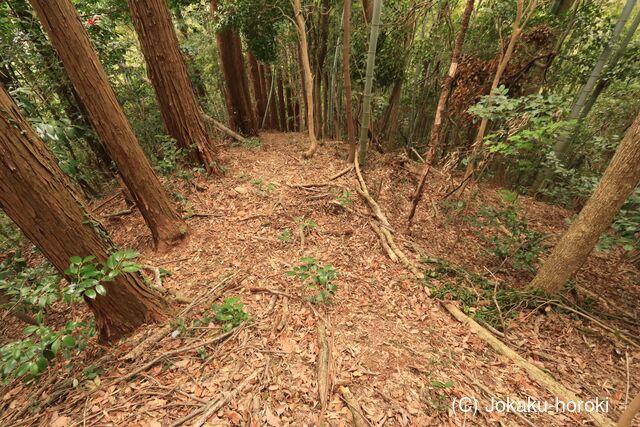
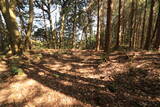
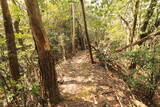
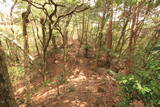
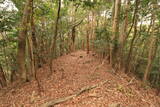
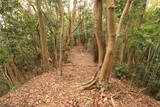
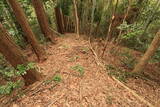
14:主郭へ
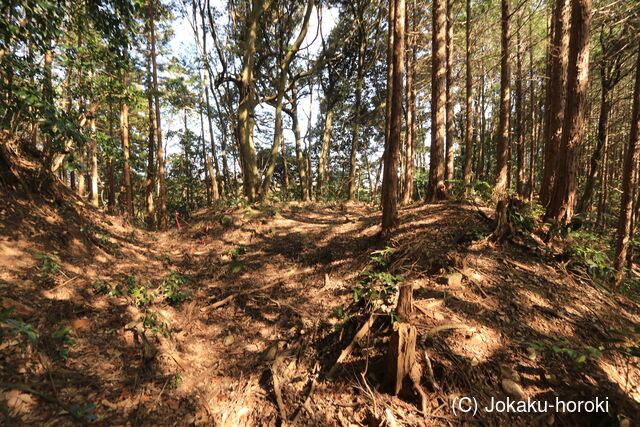
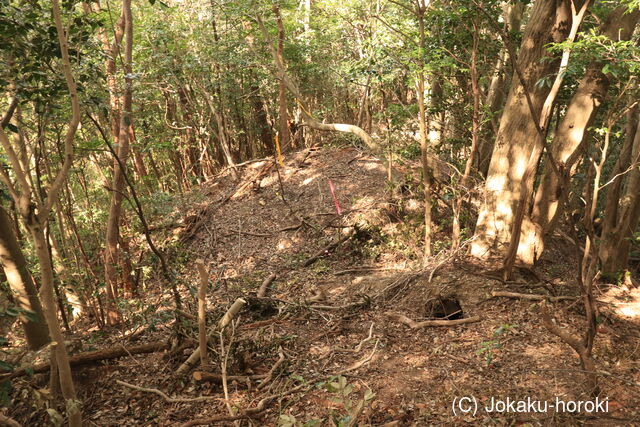
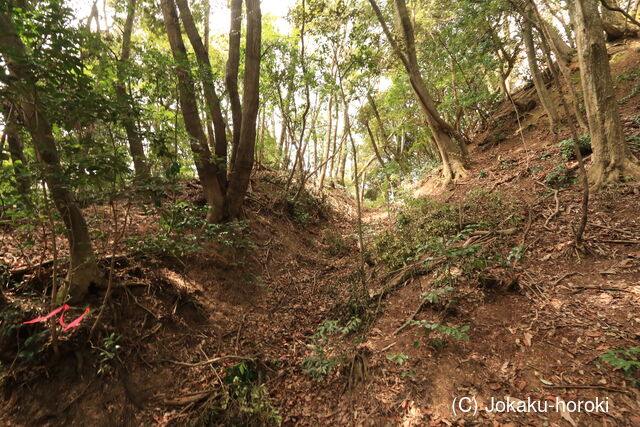
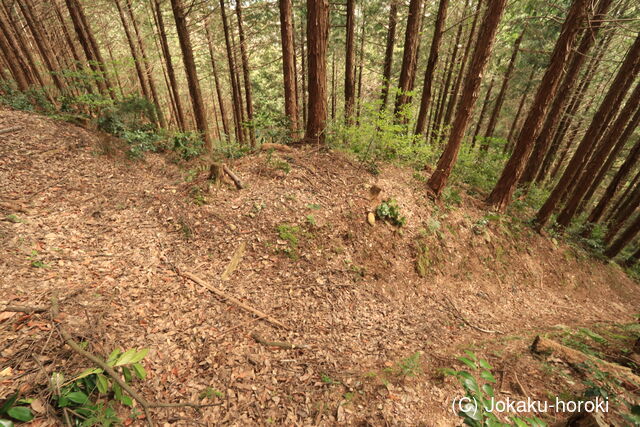
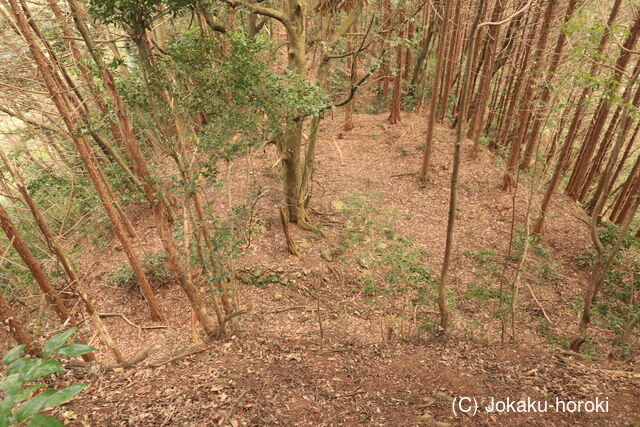
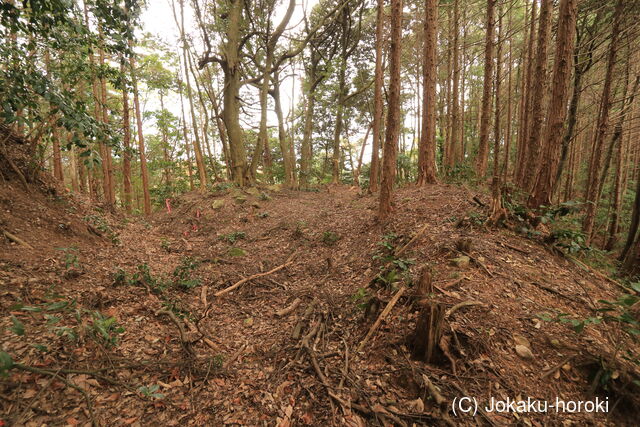
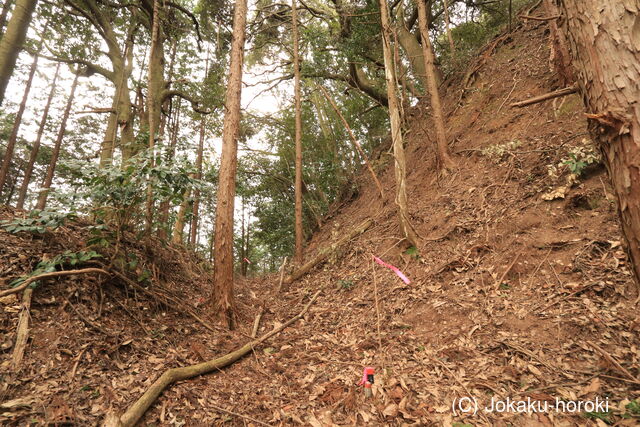
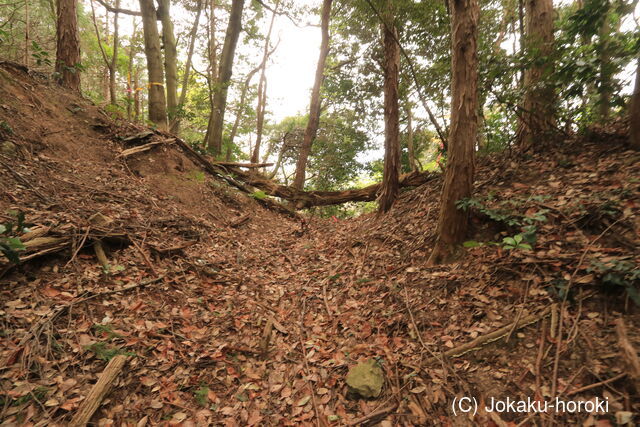
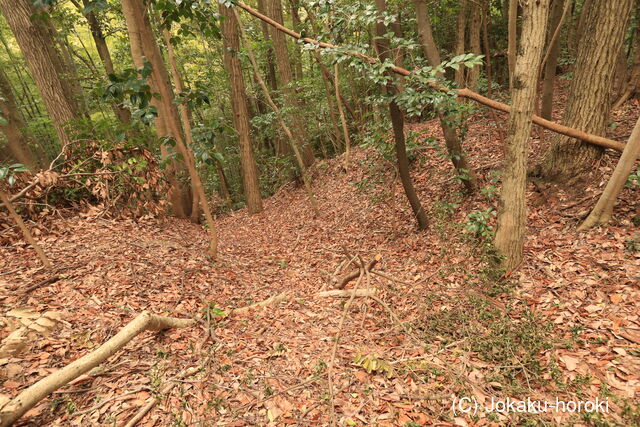
15:曲輪IIと堀切5
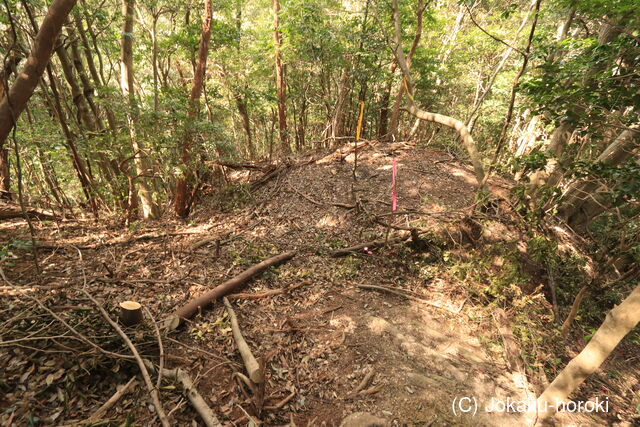
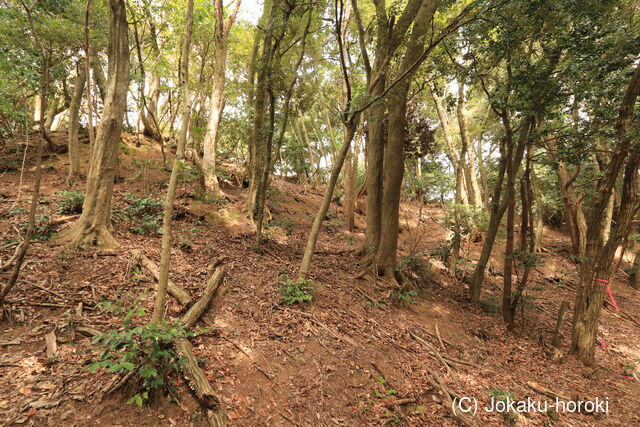
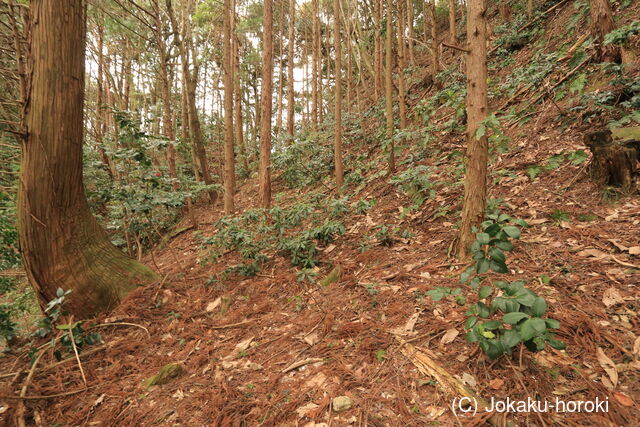
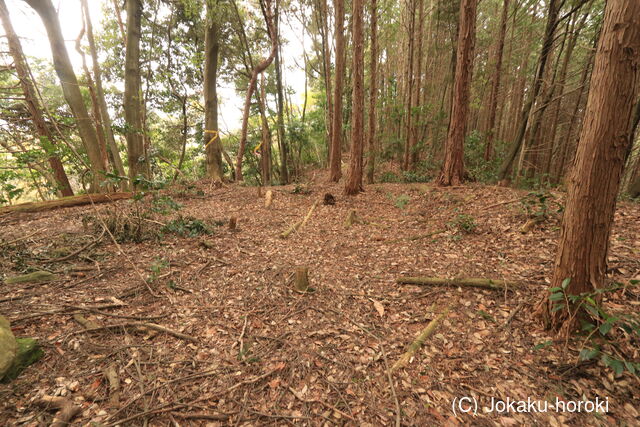
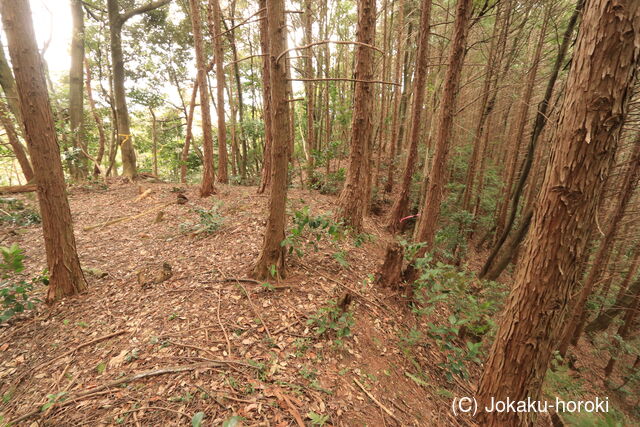
16:曲輪II
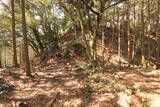
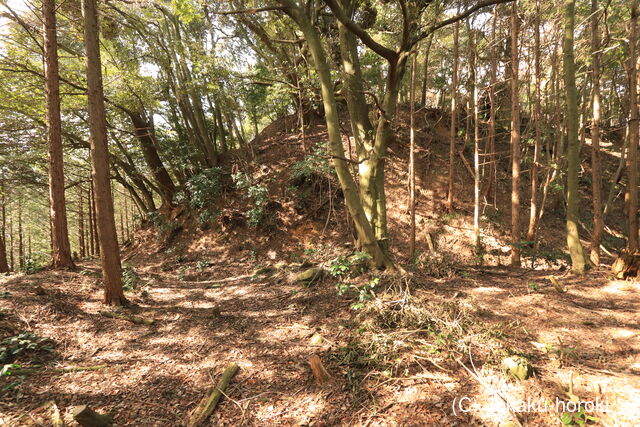
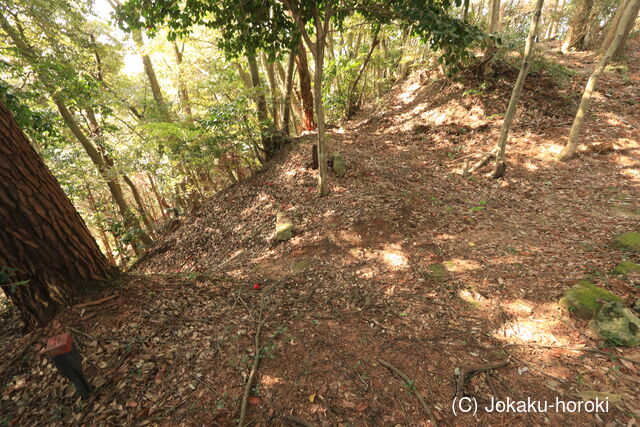
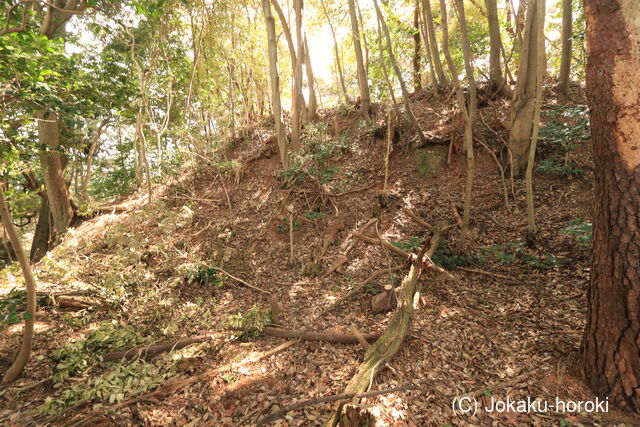
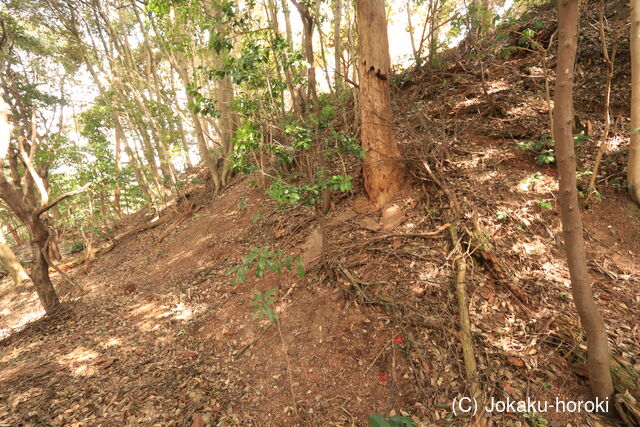
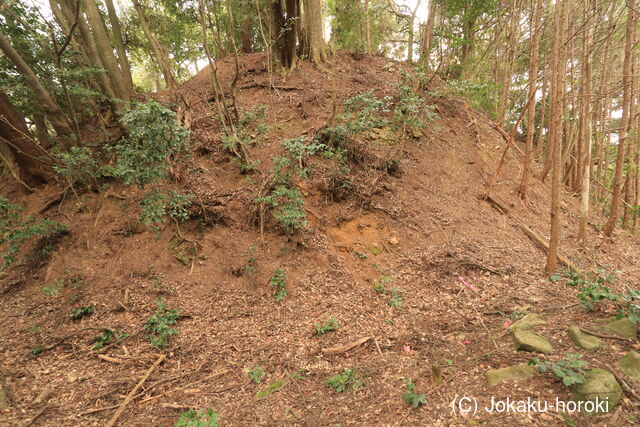
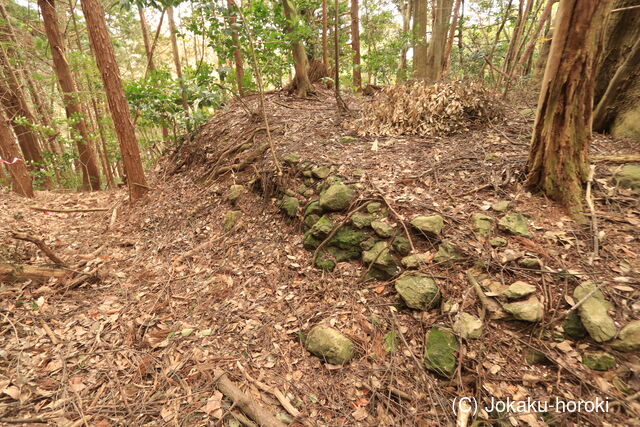
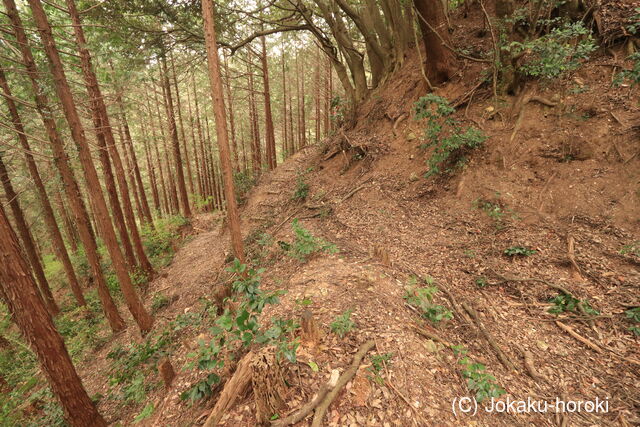
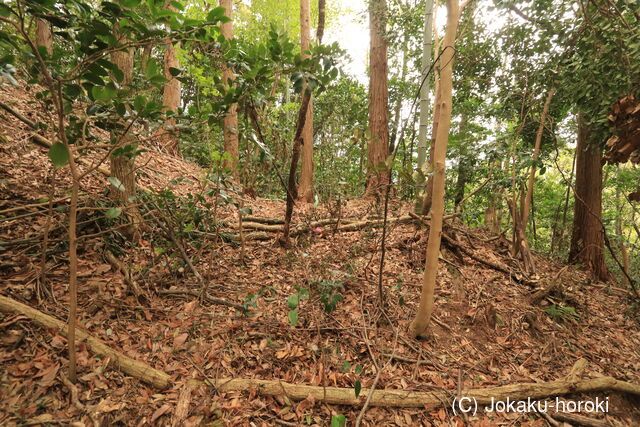
17:主郭の切岸

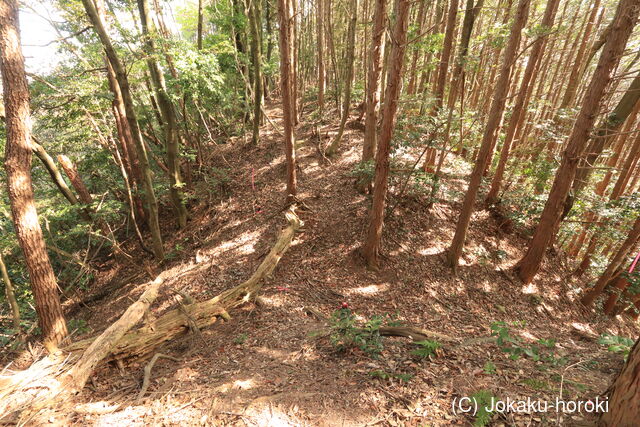
18:堀切6と曲輪III
19:切岸
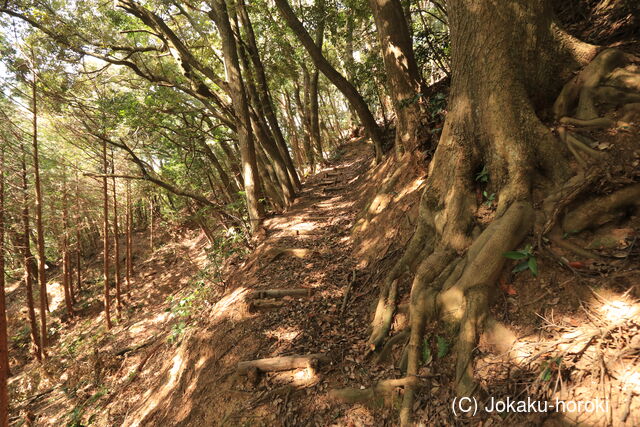
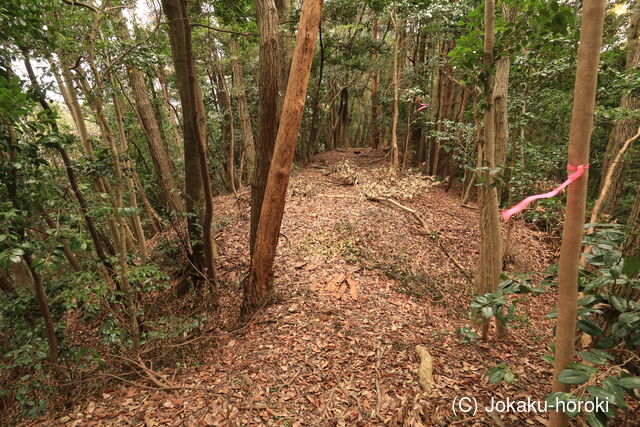
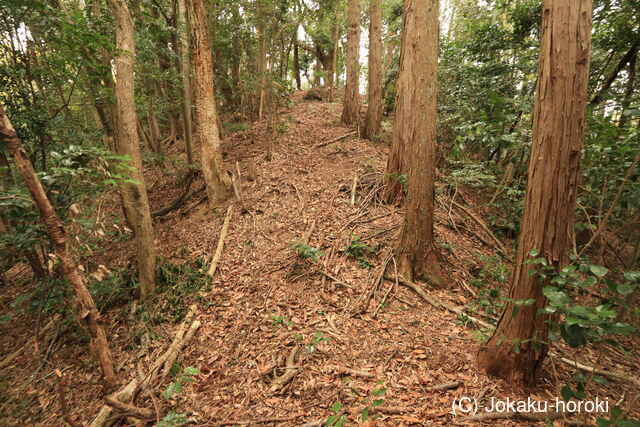
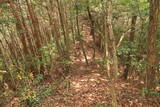
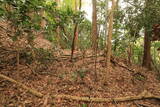
20:主郭へ
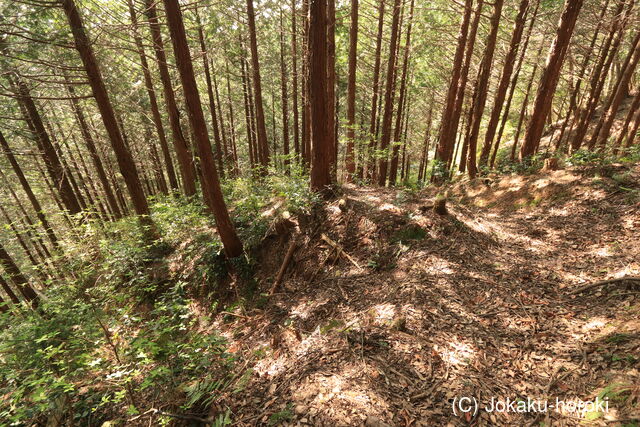
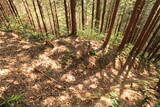
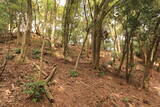
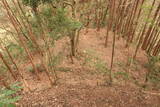
21:畝状竪堀群2
22:畝状竪堀群2
23:畝状竪堀群2
24:I2
25:I2からI1を見る
26:I2からIIを見下ろす

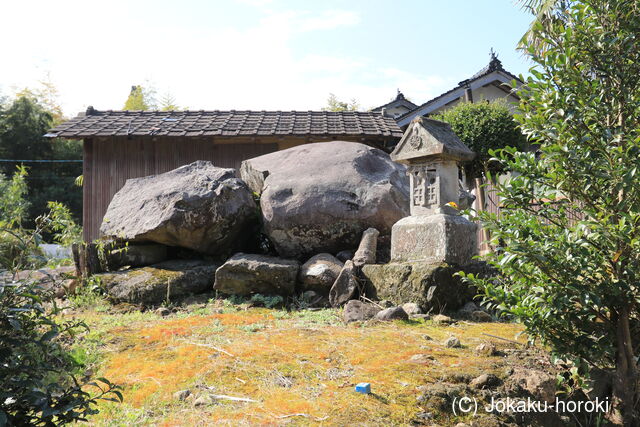
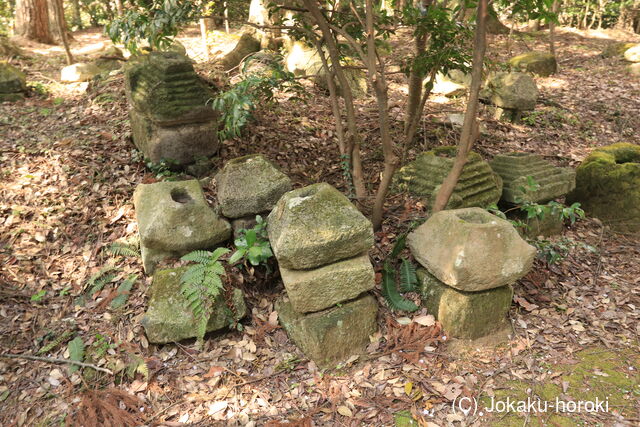
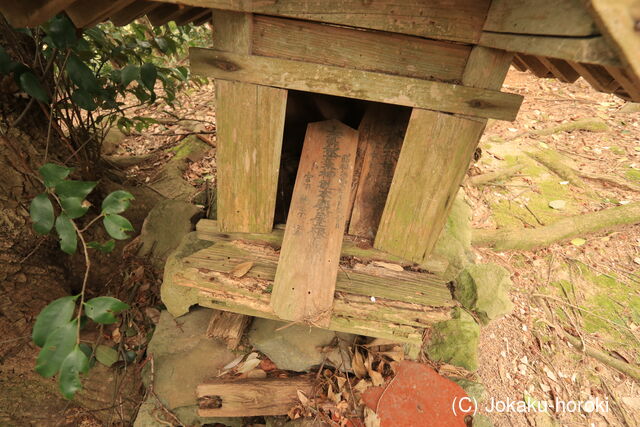
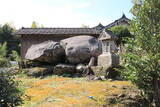
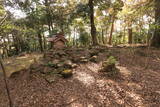
27:五輪塔や宝篋印塔の石
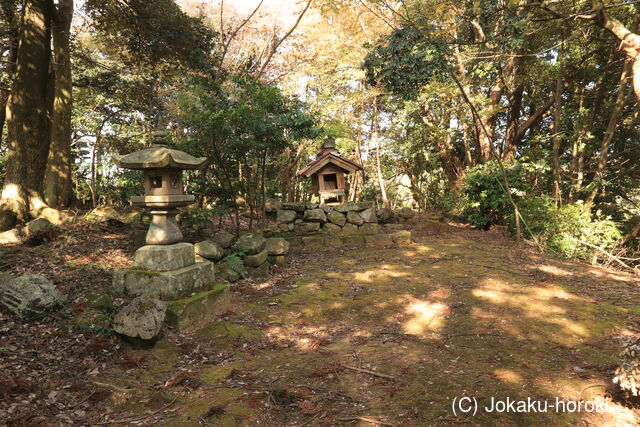
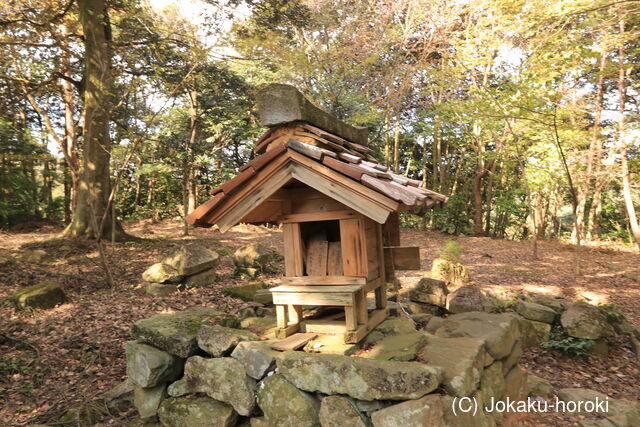
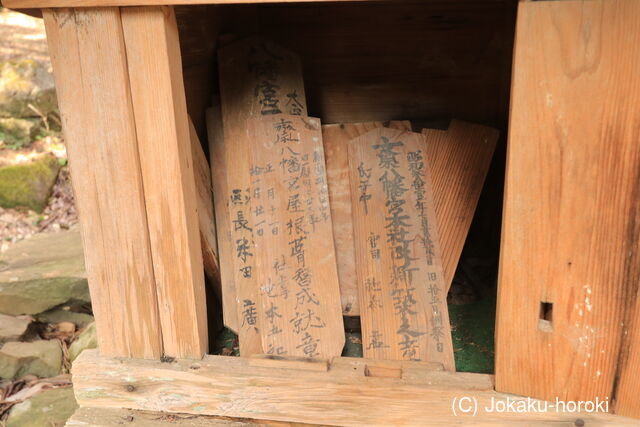
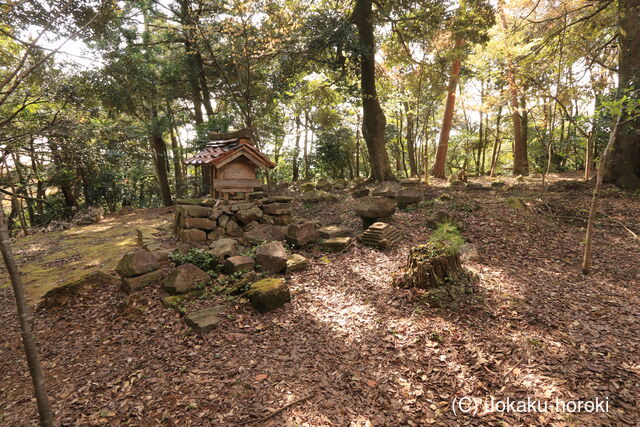
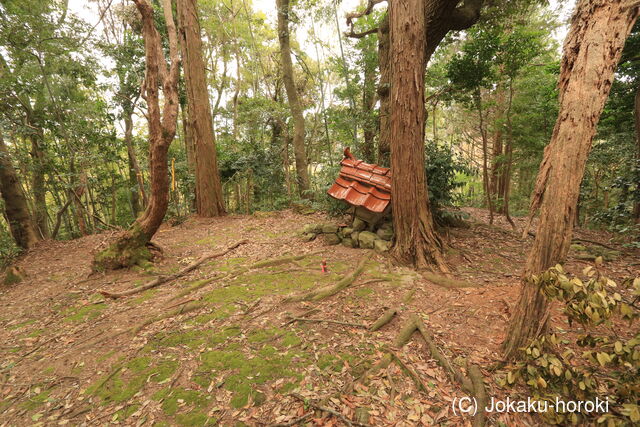
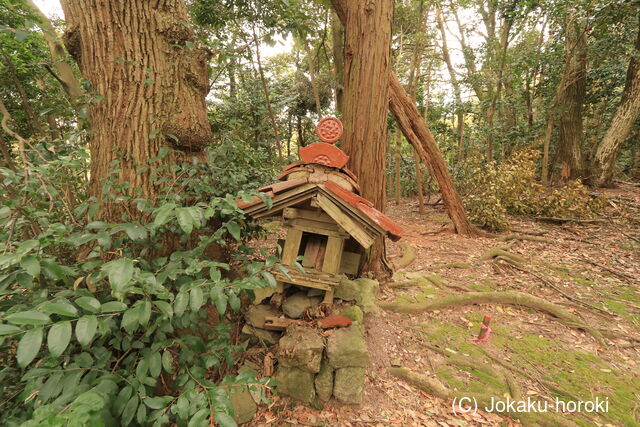
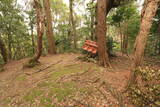
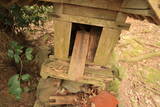
28:I1にある八幡宮
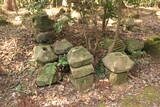
29:五輪塔や宝篋印塔の石
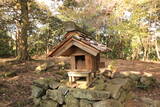
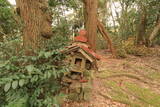
30:八幡宮

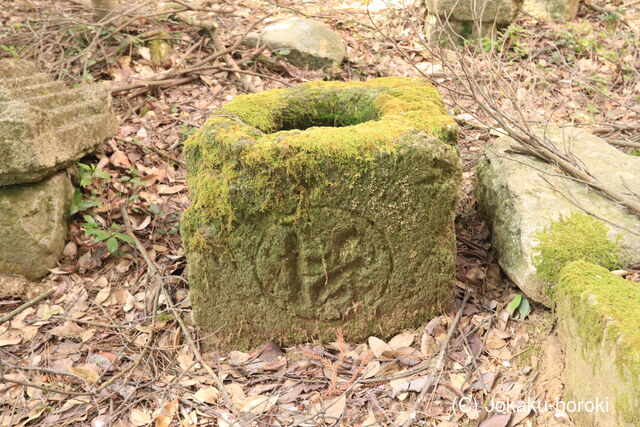
31:手水鉢も宝篋印塔の石
32:八幡宮
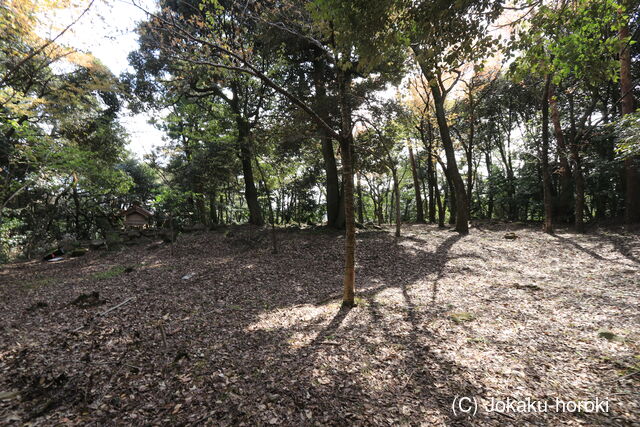
33:I1
34:I1

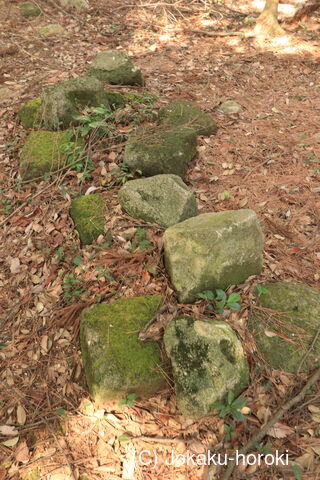
35:I1の土塁

36:I1の土塁
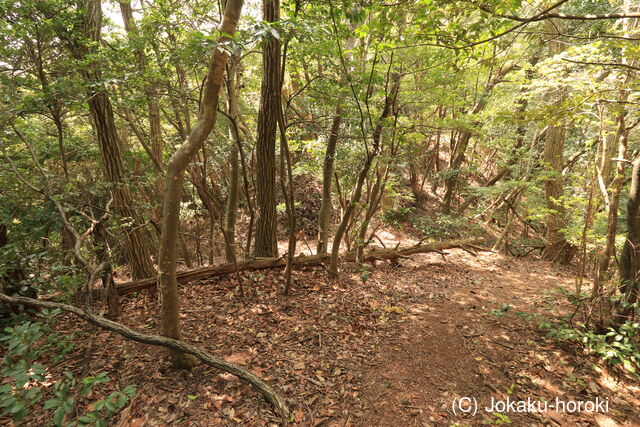
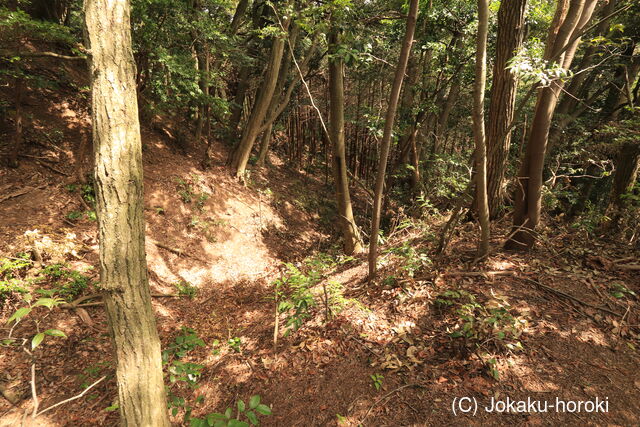
37:西下のI3
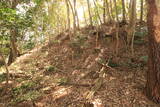
38:切岸
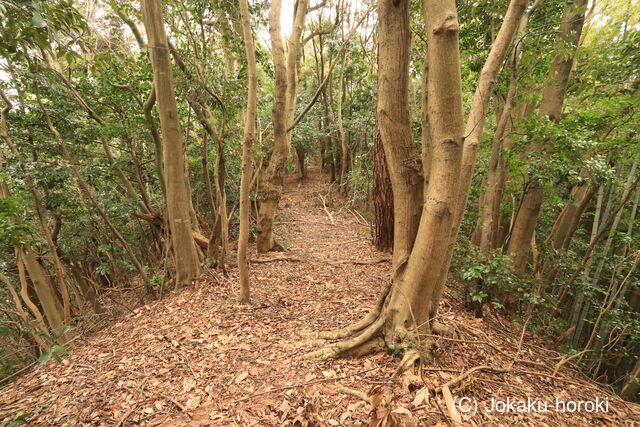
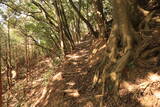
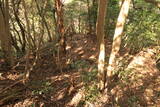
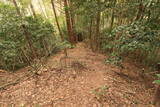
39:I3から南に伸びる犬走り
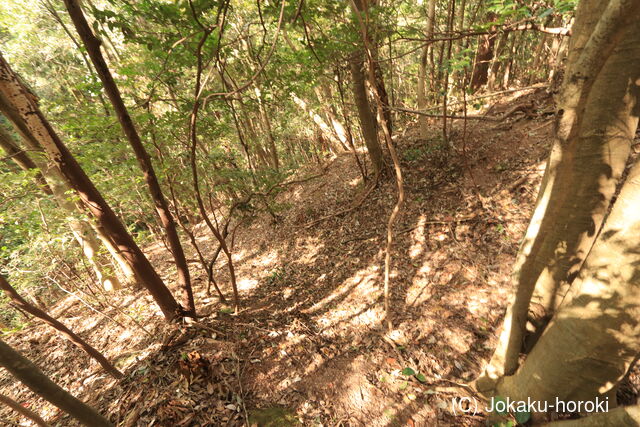
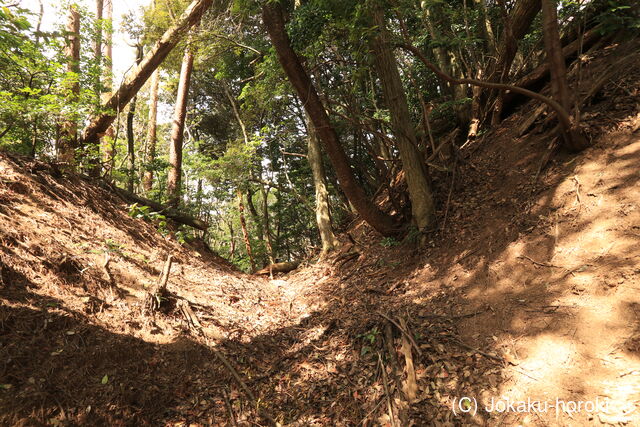
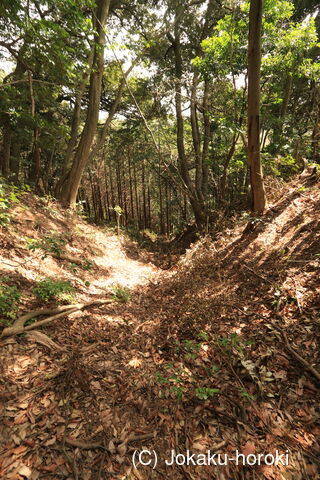
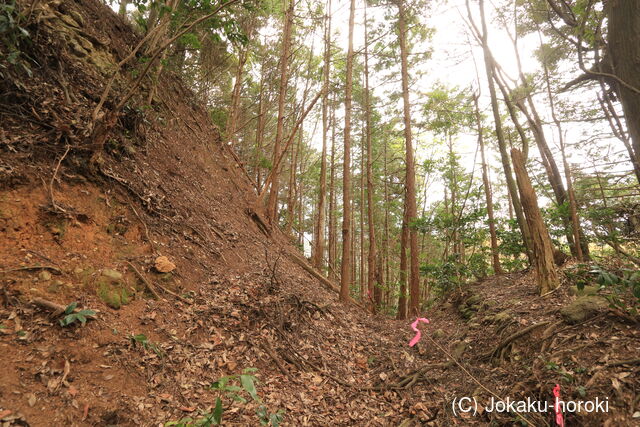
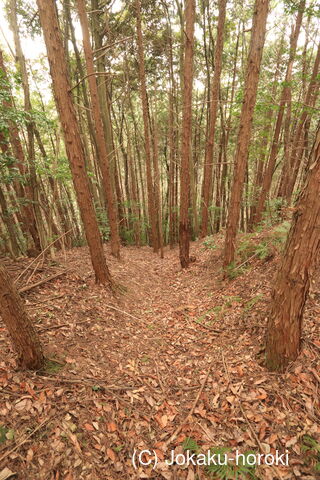
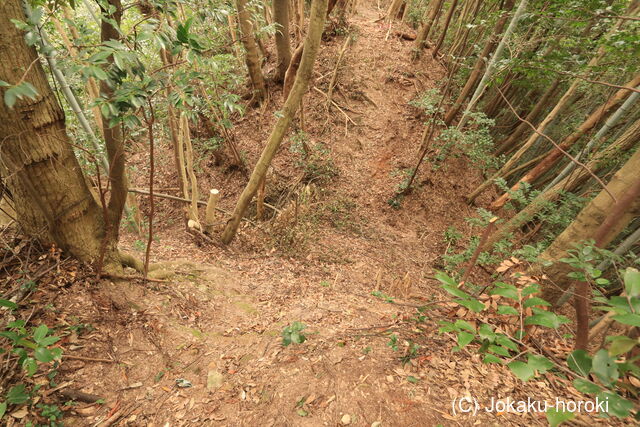
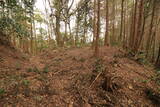
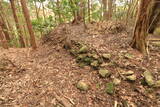
40:堀切3

41:堀切3
42:堀切3
43:堀切3
44:堀切3

45:堀切3
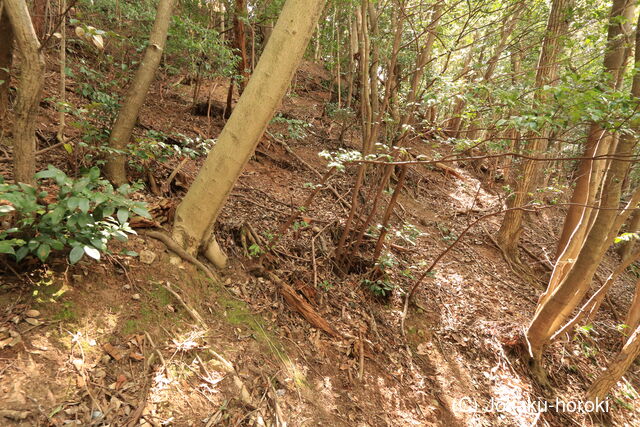
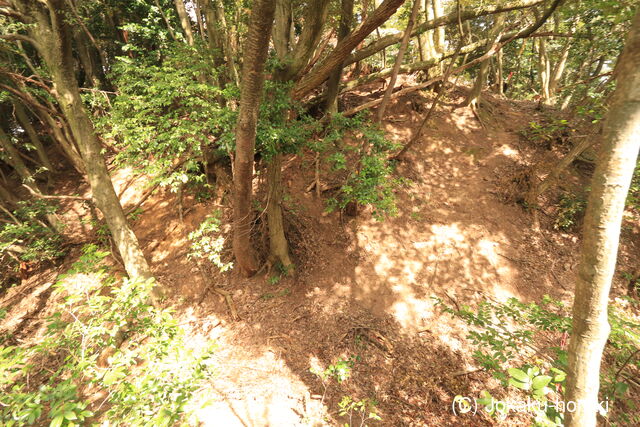
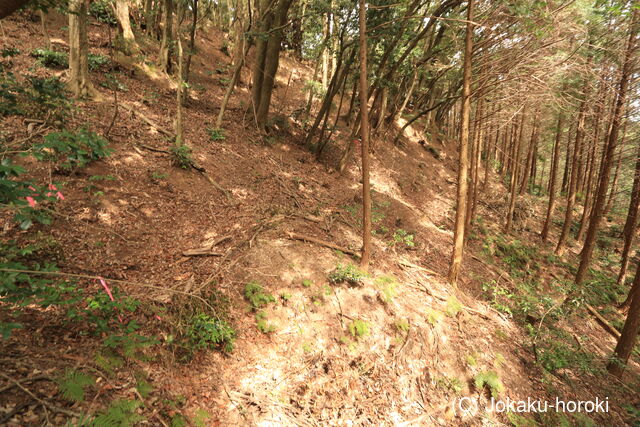
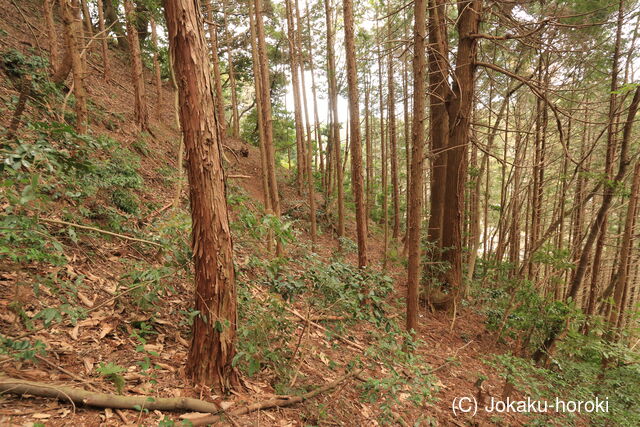
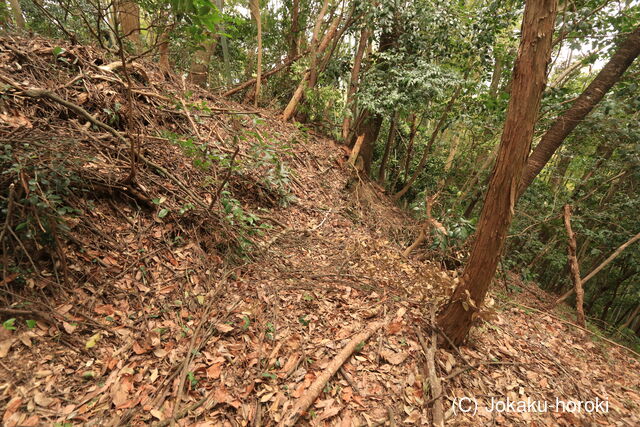
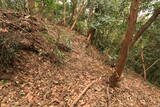
46:西側面
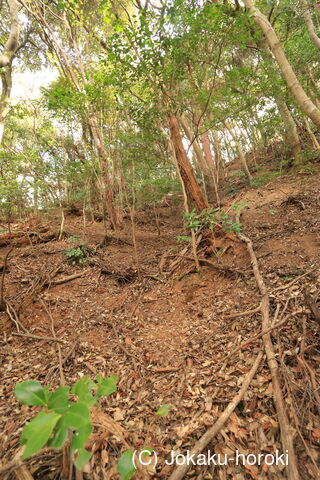
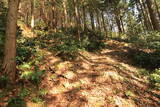
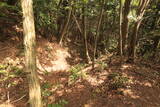
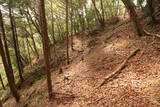
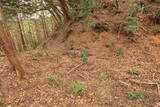
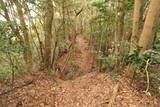
47:竪堀状地形

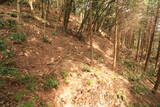
48:西の犬走り
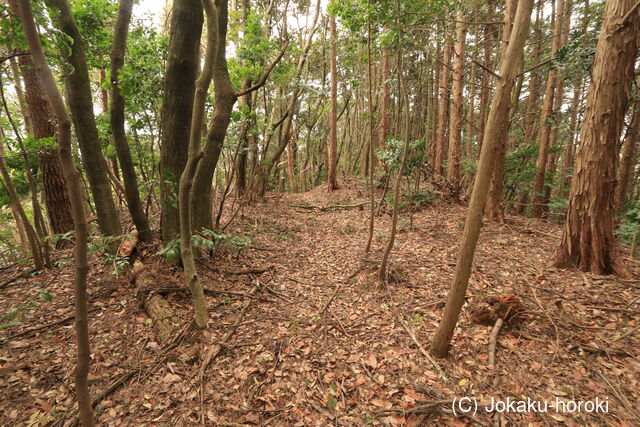
49:
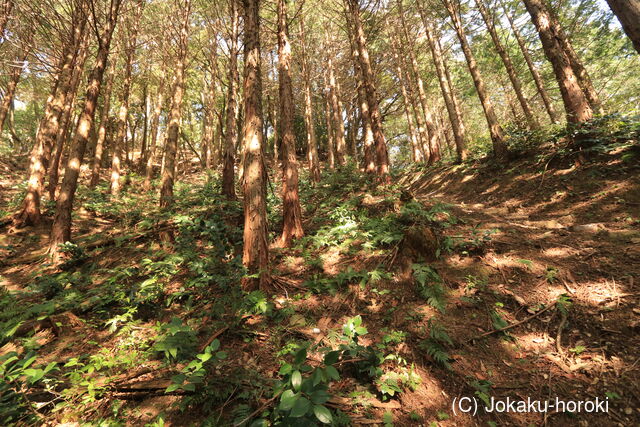
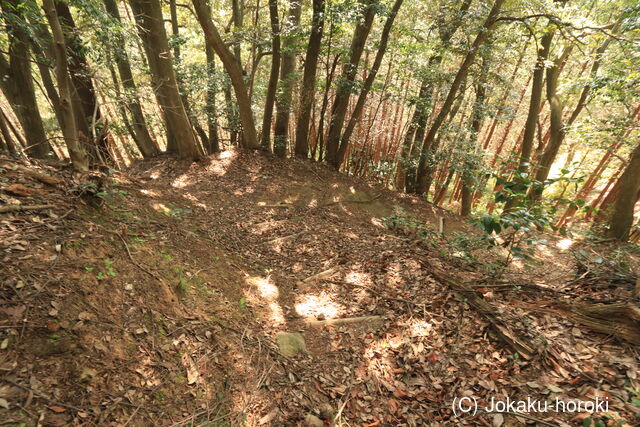
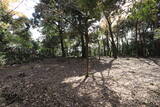
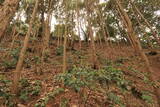
50:主郭
51:南の三重堀切へ
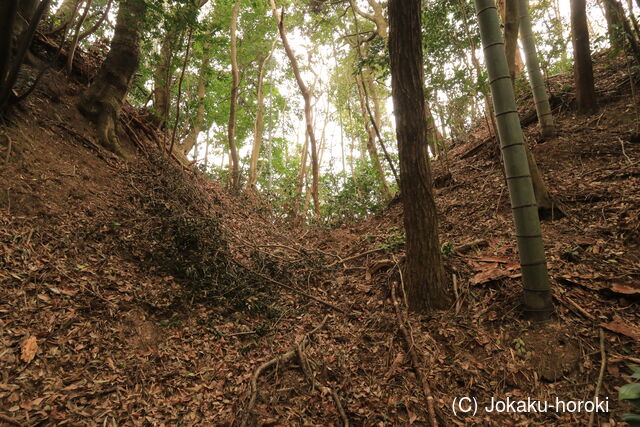
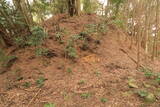
52:三重堀切1
53:三重堀切1
54:三重堀切1
55:三重堀切1
56:三重堀切1
57:三重堀切1
58:三重堀切1
59:三重堀切1
60:三重堀切1
61:三重堀切1
62:三重堀切1
63:三重堀切1
64:三重堀切1
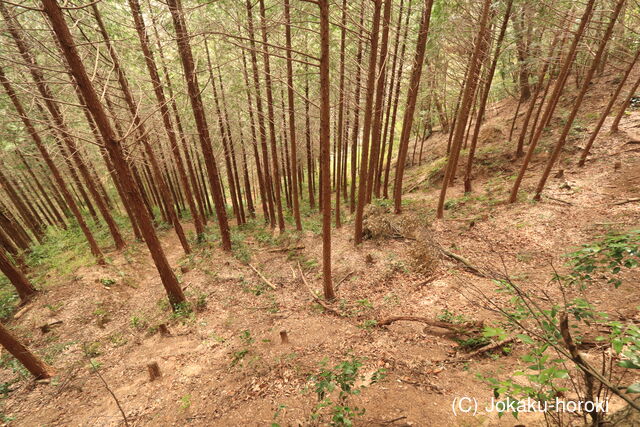
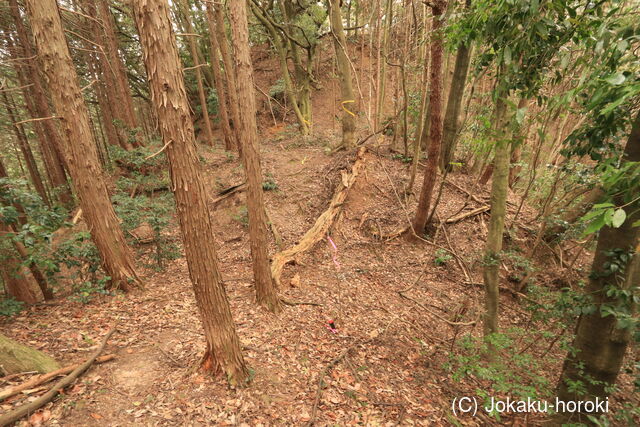
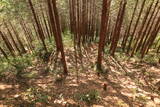
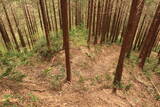
65:畝状竪堀群2
66:畝状竪堀群2
67:畝状竪堀群2
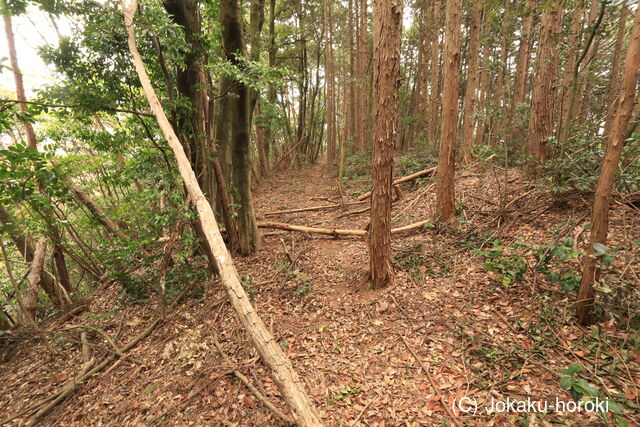
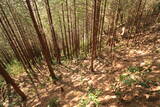
68:畝状竪堀畝2
69:畝状竪堀群2
70:畝状竪堀群2
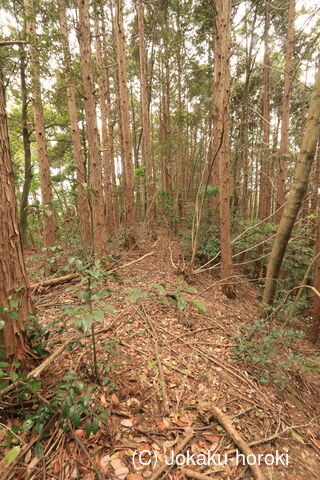
71:畝状竪堀群2
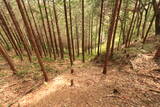
72:畝状竪堀群2
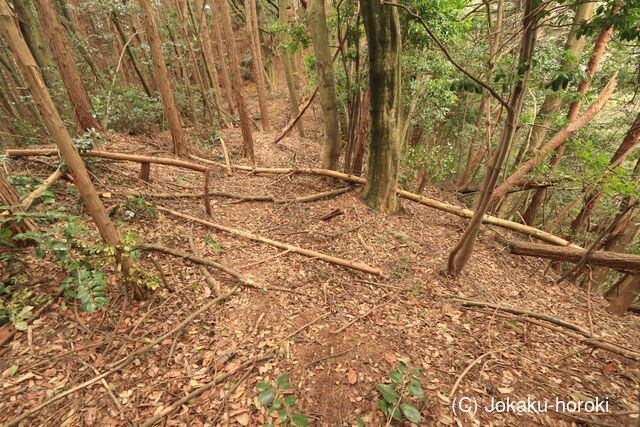
73:畝状竪堀群2
74:畝状竪堀群2
75:畝状竪堀群2
76:曲輪II

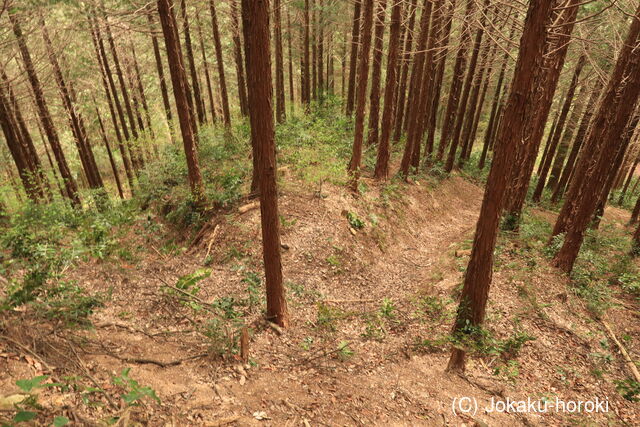
77:畝状竪堀群2
78:畝状竪堀群2
79:畝状竪堀群2
80:畝状竪堀群2
81:曲輪IIと堀切5
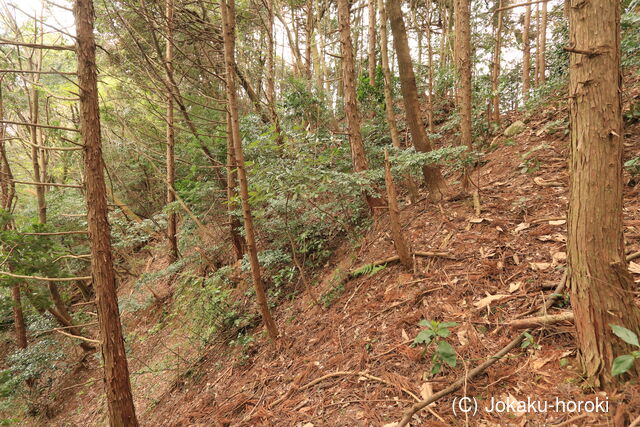
82:切岸
83:堀切5と切岸
84:堀切5
85:堀切5
86:奥に竪堀4
87:切岸
88:切岸
89:竪堀4
90:竪堀4
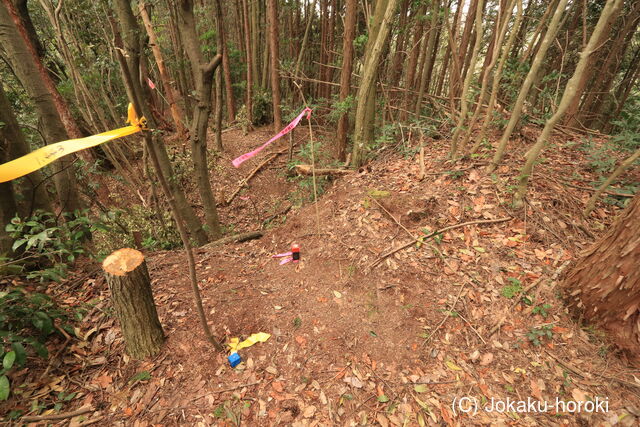
91:
92:堀切5
93:曲輪II
94:堀切5
95:曲輪IIから主郭への道
96:曲輪IIの土塁
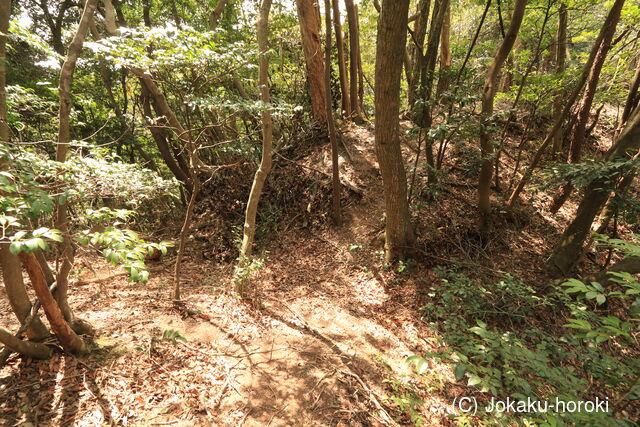
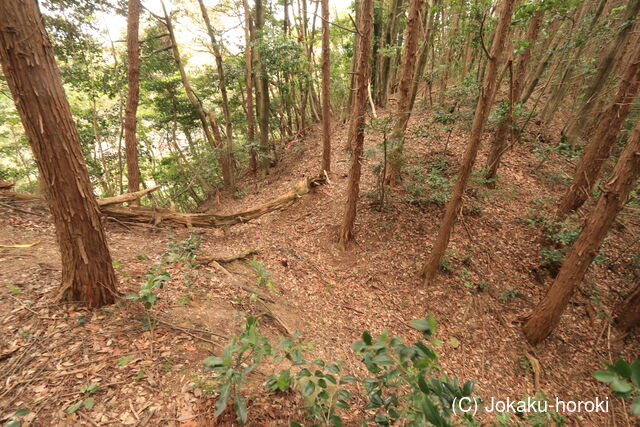
97:堀切6
98:堀切6から伸びる竪堀
99:堀切6と曲輪III
100:堀切6から伸びる竪堀
101:堀切6
102:堀切6と曲輪II
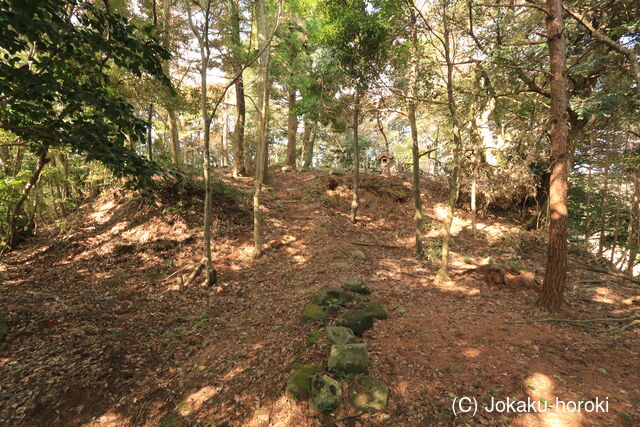
103:曲輪III、右側が削り残しの土塁
104:削り残しの土塁
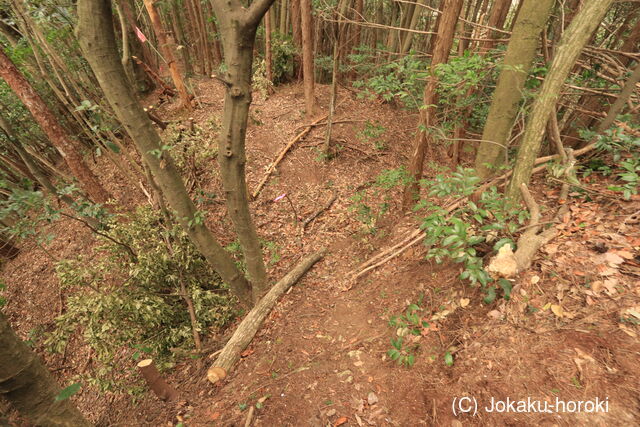
105:
106:曲輪III
107:曲輪III北端

108:堀切7
109:堀切7
110:曲輪III虎口
111:曲輪III虎口
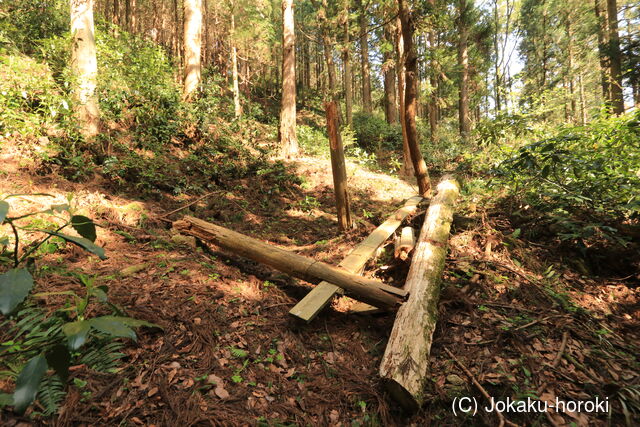
112:木橋が架かっていたところ
113:木橋が架かっていたところ
114:北側から見た堀切7
115:堀切7から伸びる竪堀
116:堀切7から伸びる竪堀
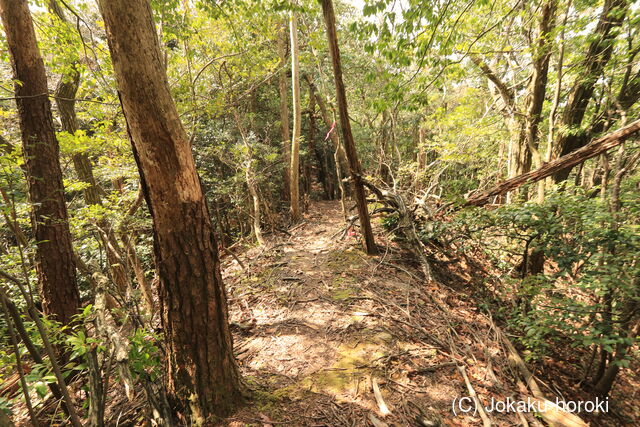
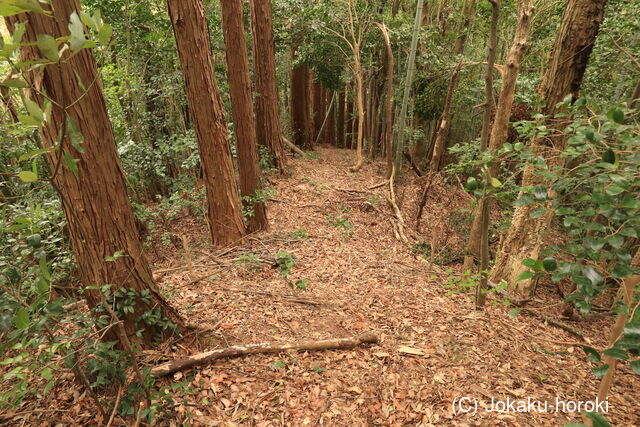
117:曲輪X方面へ
118:土橋が残る堀切8
119:堀切8
120:堀切8
121:X2の尾根
122:堀切9
123:堀切9
124:堀切9
125:堀切9
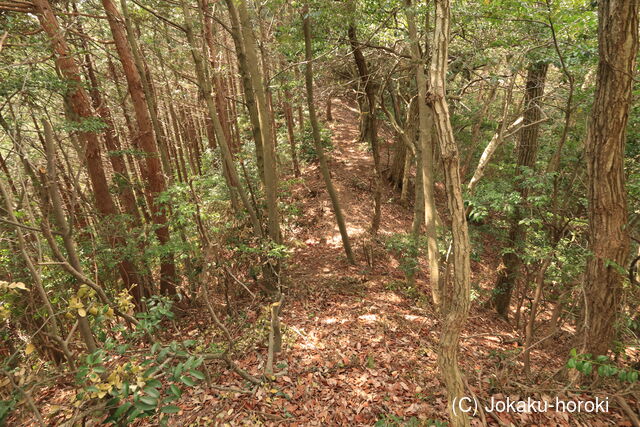
126:X1の尾根
127:曲輪X1
128:秋葉社
129:秋葉社
130:堀切10
131:堀切10上
132:堀切10上
133:堀切10下
134:堀切10下
135:堀切10下
136:堀切10下から
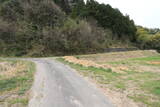
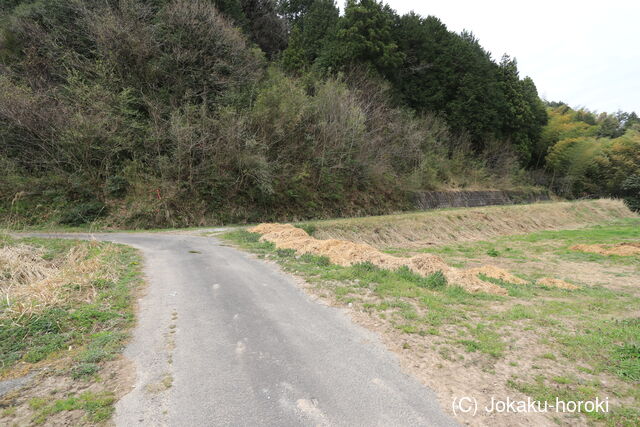
137:ここを右に行くと谷間の林道にいく
Copyright(C) 2003-2023,By PEI.